Option I – Students Tab
Students normally pick or add new organizations / employers when they add hours for the first time. It’s normally easier that way and less work for teachers / coordinators. However, if you want to do the initial leg work, you can.
NOTE: Organizations / Employers added by students via the Hours section are automatically set to Pending. Teachers / Coordinators can update the status of organizations / employers to Active if they wish.
NOTE: Students do not have access to the Organizations / Employers section which houses the detailed database. However, students can search the database or add new organizations / employers (name of organization / employer, positions and contacts) via the Hour section.
1. Click on the Students tab (left panel).
![]()
2. Search and click on the desired student; this will automatically take you to their Hour page.
3. Click on ![]() in the top-right corner.
in the top-right corner.
4. Type in the name of the organization / employer (e.g. Food Bank) to search the database. Or, next to the Organization field, you will see a ![]() icon. Click on it to assign and add a new organization / employer to the student.
icon. Click on it to assign and add a new organization / employer to the student.
5. Fill in all the necessary information regarding the organization / employer.
6. if you wish, continue to fill out the information for the hours such as Skills Learned and Description, then select one of several Save options.
Option II – Organizations / Employers Tab
You may want to pre-populate the student employers before students add hours for the first time. If so, follow the instructions below.
1. Click on the Organizations/Employers tab (left panel)
![]()
2. Click the ![]() in the top-right corner to create a new organization / employer. Or, click on an existing organization / employer to add or edit information.
in the top-right corner to create a new organization / employer. Or, click on an existing organization / employer to add or edit information.
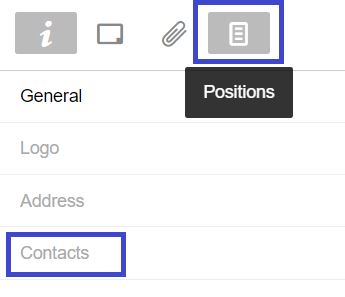
3. Fill in all of the necessary information regarding the organization / employer. Key sections to complete and support the student, include:
- Contacts (First Name, Last Name, Email)
- Position (the job title of the student)
4. Once you finish creating the new organization / employer, click ![]()
5. Now go to the Students tab, and complete the steps in Option 1 above.
![]()