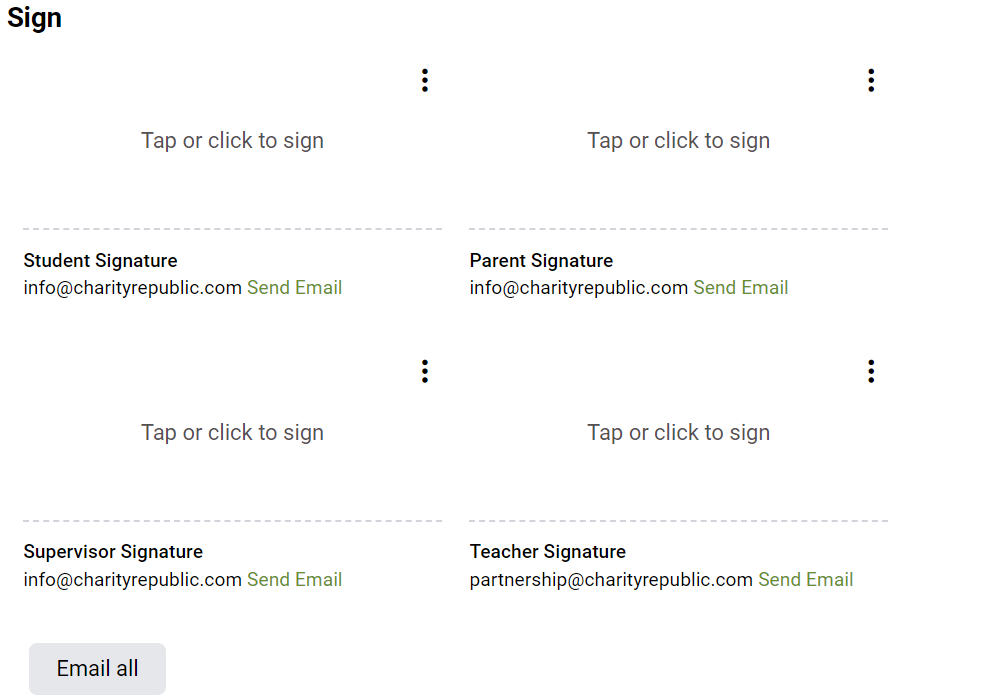
Most forms have an e-signature option in Hour Republic. Once a form has been created, you will notice signature fields at the bottom of the form as follows:
1. Click on the ‘Tap or click to sign” line
2. A pop-up window will appear where a signature can be added
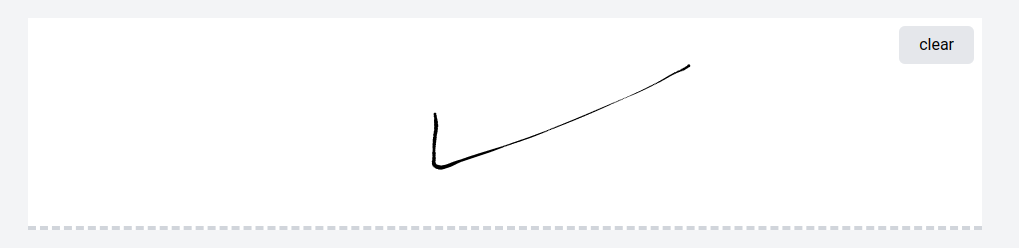
*Ask the signatory to add their signature to the line, and to enter their First Name, Last Name and Email address

NOTE: A signature can be added to any touch screen with a finger or stylus; a signature can also be added via any computer with a computer mouse.
3. Click Sign
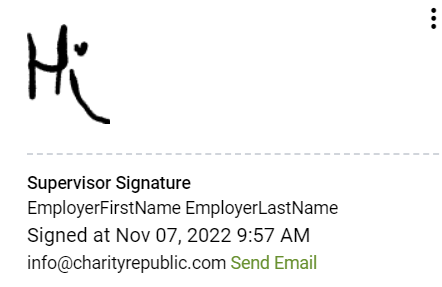
Once a signature is confirmed, the signature will appear on the web form as follows:
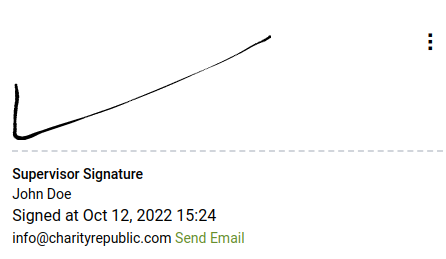
4. Click Save in order to save the signature, or Save and Export the form in order to export the signature to a PDF form. Print the PDF form or save the form electronically when you are ready!

My Signature
You will notice an Insert My Signature checkbox. Teachers can save their signatures to make signing forms quicker
1. Check off the Save as my signature box to save your signature for future forms

2. Now, when you sign a form, you can click the  button to instantly sign.
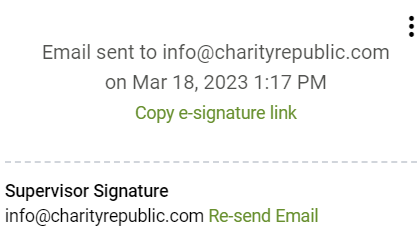
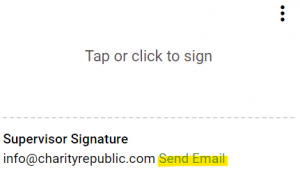
Email Requests for E-Signatures
Teachers can send Employers, Parent/Guardians and Students email requests to sign forms and plans electronically.
- Click on the
 tab
tab
- Complete a form/plan and scroll to the bottom
- The Employers, Parent/Guardians and Students emails are auto filled
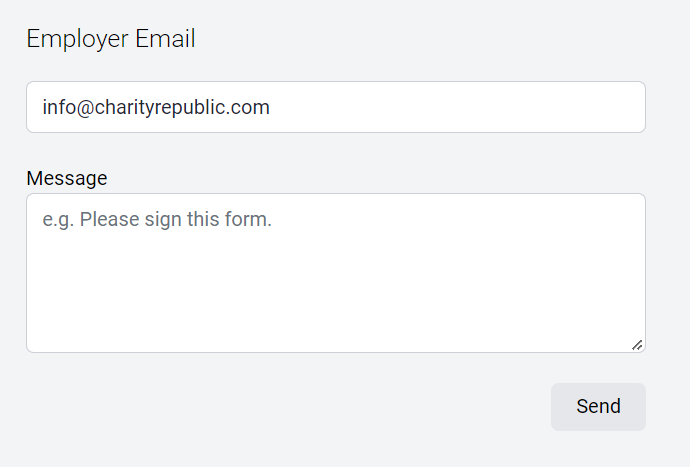
- Click the Send Email button
- Confirm the email address and add an optional message before clicking Send.
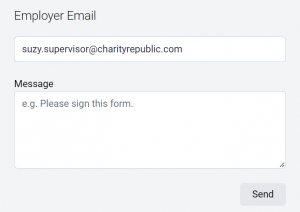
- You will be prompted to confirm submission details before sending the email request.
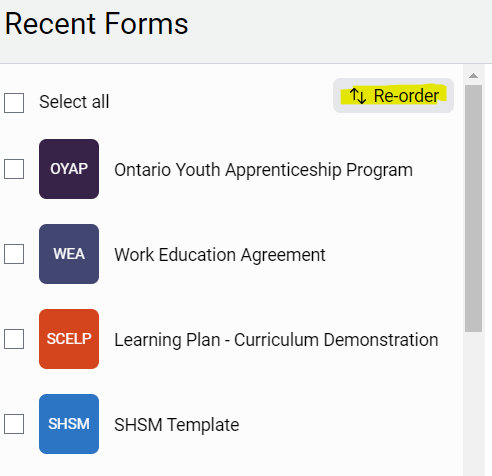
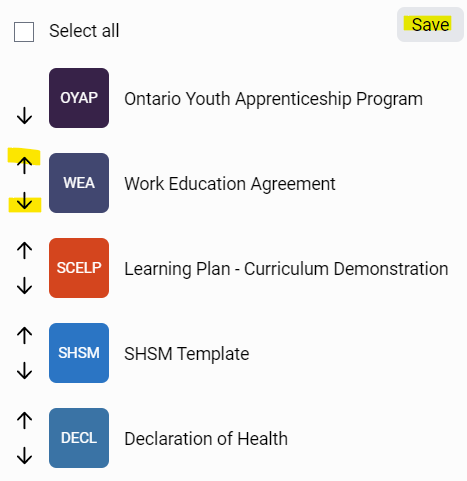
Mass E-Signature Requests
How do I send an e-signature request to more than one person & for more than one form at the same time?
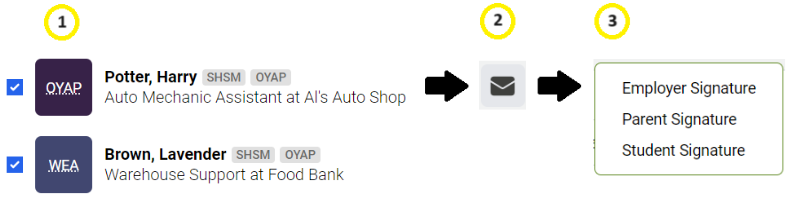
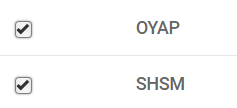
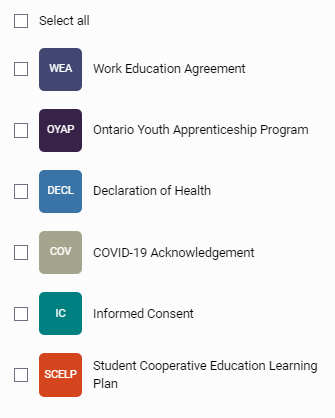
#1. Select one or more form(s)
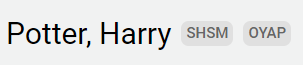
➡️ Teachers can select different forms & multiple students.
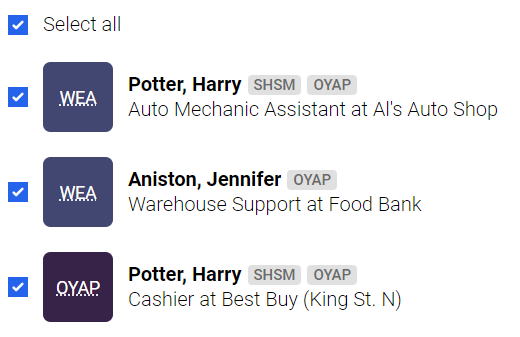
Example of selecting more than one student and form type (e.g. WEA and OYAP forms):
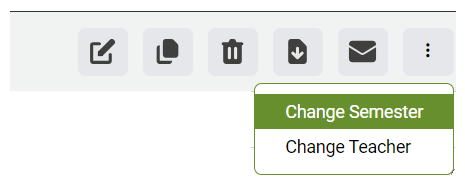
#2. Select the mass email icon at the top of your screen 
#3. Select the signature type from the drop-down
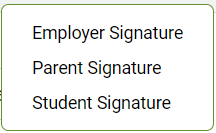
➡️Teachers might not see certain signature types (e.g. parent/guardian signature) because the selected form does not have that signature type.
e.g. If a form does not have a Parent/guardian e-signature, then Parent/Guardian Signature will not show up as an option in the drop-down.
#4. Make your selection: select student(s) by form type and click 
➡️ Teachers have the option to add a message. This message will apply to all selected students and forms.
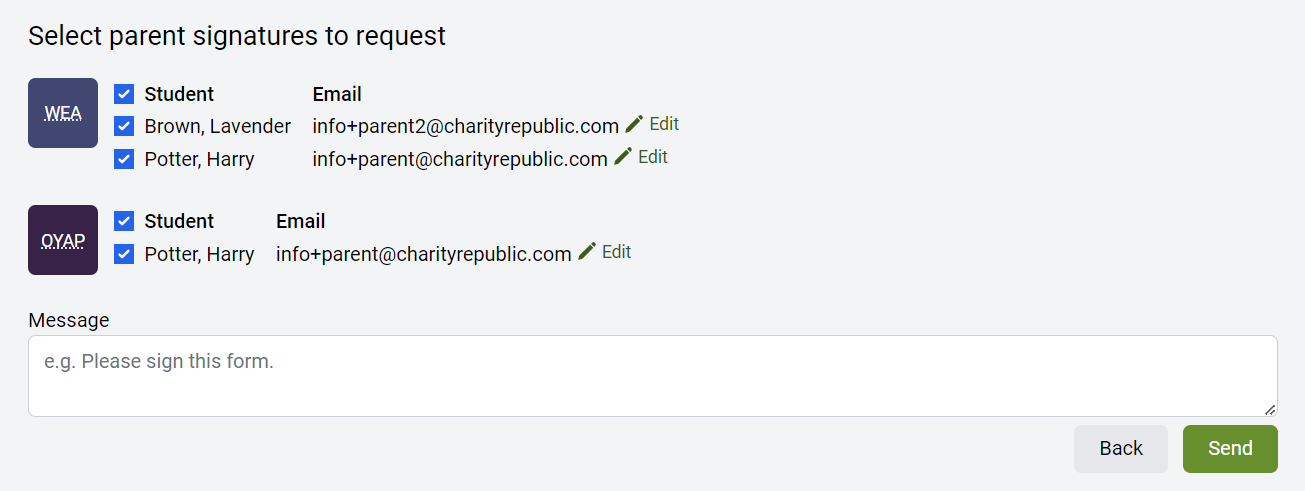
➡️ You will be asked to confirm your selection one more time (Are you sure you want to send these signature requests?). Click Send again.
Click Here for more information on mass e-signature requests


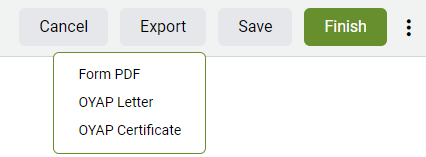
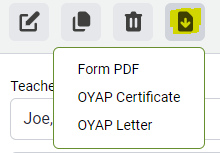 rs can download or print.