Classes are used by teachers to organize students into groups (e.g. Semester 1 co-op students).
The Signup Code is used to easily attach students to a Class. i.e. when students enter the provided Signup Code into their registration form, they automatically get added to the Class.
*Please note, teachers will need to add students who have already have an account manually once the class is created.
e.g. Class name: Semester 1, 2024-2025 [teacher name]
Signup Code: 2024sem1
Creating a Class
#1. To begin creating a new class, select your high school on the left tool bar ![]()
#2. Click the Classes icon ![]()
#3. Select the ![]() in the top right corner to create a new class
in the top right corner to create a new class
#4. Enter a name for your Class, you choose! It’s your way of organizing students:
(e.g. Semester 1, 2024-2025 [teacher name])

#5. Add a date range to your class (e.g. from the first day of a semester to the last day of a semester). The progress bar will reset to zero for returning students, simply hiding logs from previous semesters.
TIP: Students need to select the Class filter (e.g. Sem 2 2020-21) in the Hour section in order for the date range to take effect.
TIP: Beside Total Submissions in the Hour section, we indicate how many submissions are hidden when the Class filter is selected (e.g. 15 submissions hidden by filter).
#6. You will automatically be added as a teacher/coordinator table when you create a new class.
TIP: To remove a teacher from your class code, simply click the "-" symbol beside a teacher's name, and click
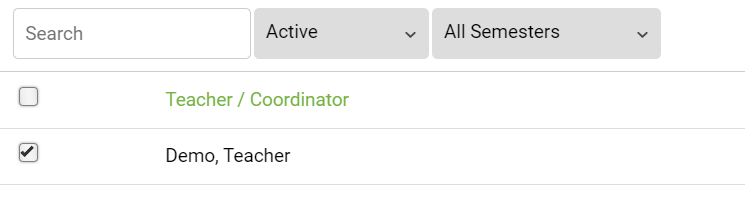
TIP: To add another teacher/coordinator, click thesymbol. Use the search bar, or filters to locate teachers/coordinators, then click the check box beside the teacher's/coordinator's name to add them to the class, then Done.
#7. Click ![]() to create this new class
to create this new class
Signup Code
#8. This will cause the sign up code table to pop up and allow you to create sign up code for your class by clicking the ![]() symbol.
symbol.

NOTE: Providing this code to your class will automatically assign them to it when they register with the code.
#9. Enter a sign up code (2024sem1) or select the ![]() button to have one created for you:
button to have one created for you:

TIP: Keep your sign up code simple to avoid students from making typos!
#10. To finish, click ![]()
Congratulations! Your class is ready to go😀
Adding / Removing a Student from a Class
Students are automatically added to your Class when they register with the Sign Up Code you provided.
#1. To begin, select your high school on the left tool bar to access the main administrator section
![]()
#2. Click the Classes icon ![]()
#3. From the table, click on the class that you would like to add or remove a student from.
#4. To add a student, click the![]() symbol in the second table (with the Student column).
symbol in the second table (with the Student column).
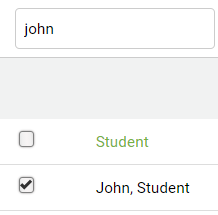
Search the list, or use the search bar, or use the filters to locate student(s). Select a student by clicking the check box beside the student’s name, and Done.

TIP: To remove a student from the class, click the "-" remove icon beside the student's name.

#5. To finish, click ![]()