You can save time and paper by having employers, parents/guardians, and teachers/coordinators sign your documents through e-signatures. Please follow these steps to learn more:
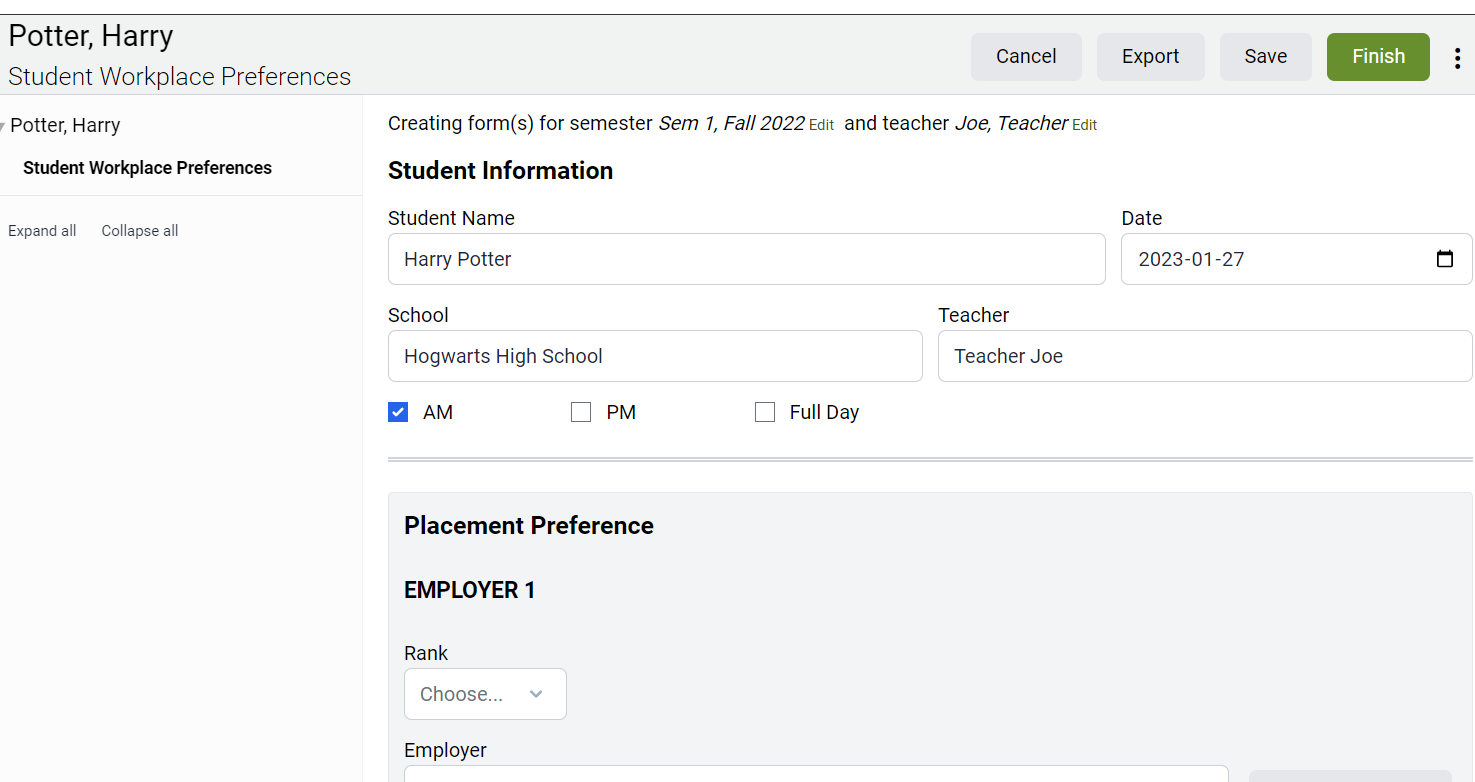
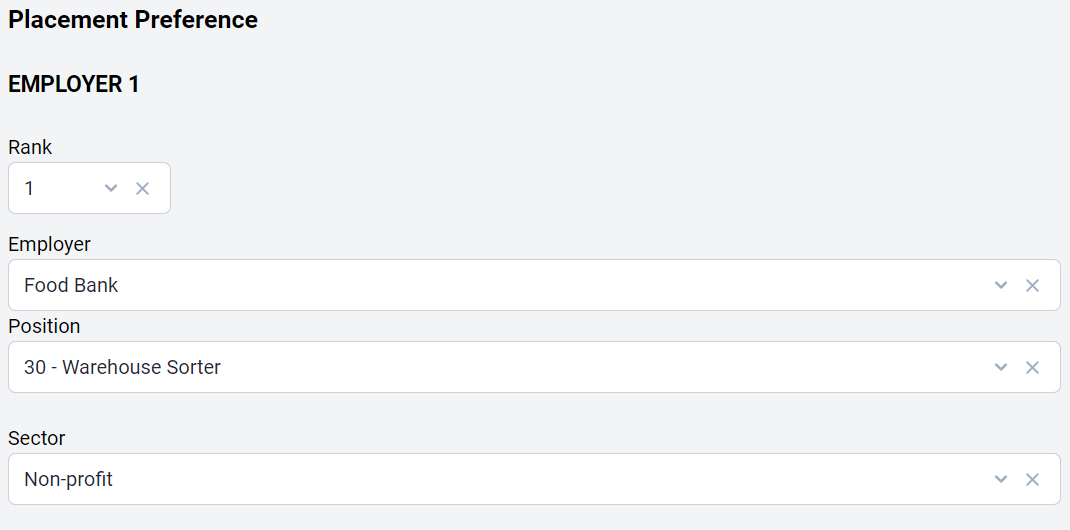
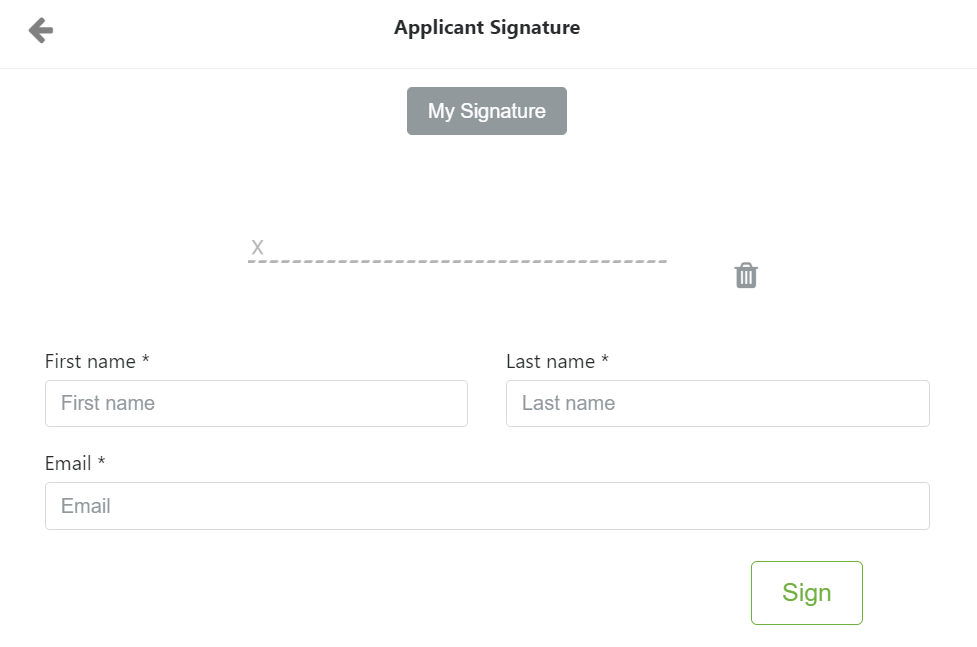
Once a form has been created for you (see FAQ), you will notice signature fields at the bottom of the form as follows:
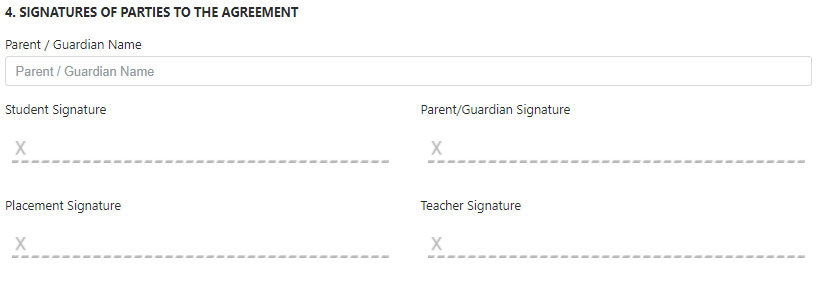
1. Click on a desired signature line

2. A pop-up window will appear where a signature can be added.
3. Ask the signatory to add their signature to the line, and to enter their First name, Last name and Email address
NOTE: The signature can be added to any touch screen with a finger or stylus; a signature can also be added via any computer with a computer mouse
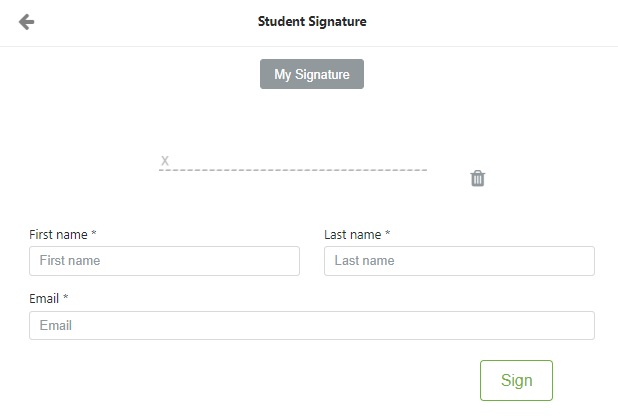
4. Click 
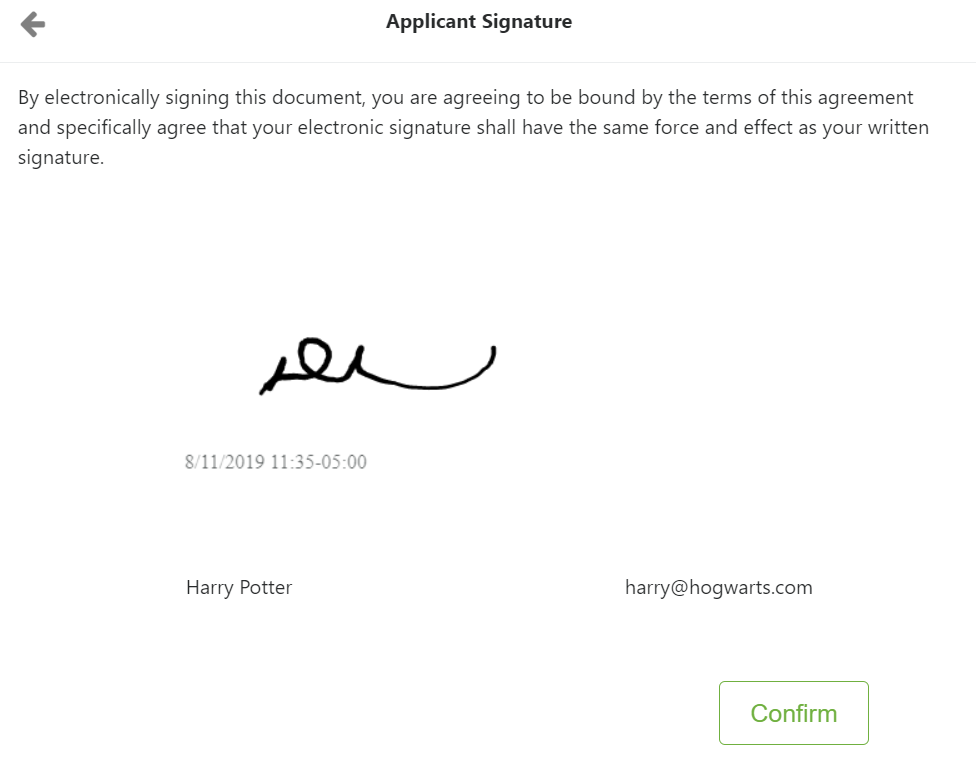
5. After signing the form, the following screen will appear:
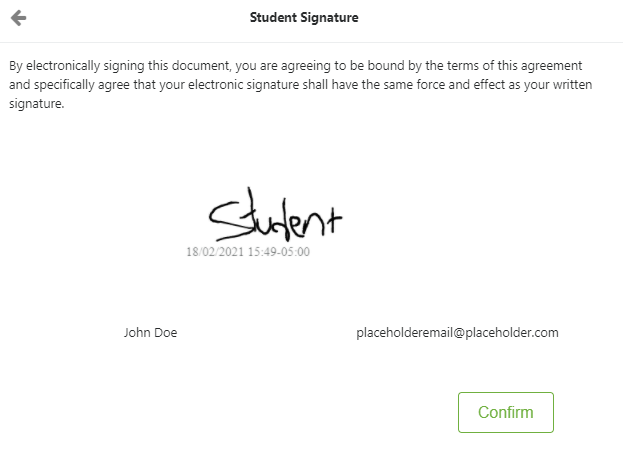
6. Click ![]()
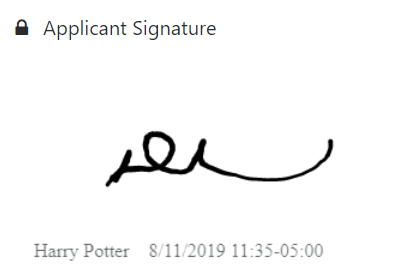
Once a signature is confirmed, the signature will appear on the web form as follows:
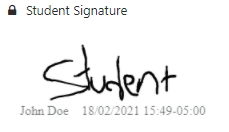
6. Click ![]() in order to save the signature, or
in order to save the signature, or ![]() the form in order to export the signature to a PDF form. Print the PDF form or save the form electronically when you are ready!
the form in order to export the signature to a PDF form. Print the PDF form or save the form electronically when you are ready!
![]()
My Signature
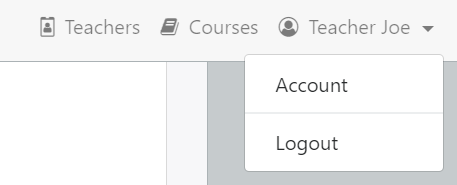
You will notice a My Signature button. Teachers can save their signatures to their Account settings in the form software (see image below). Follow steps 1 to 5 in order to add a signature to your Account settings.
After you save a signature to your account settings, this signature can be added to any form by clicking the My Signature button.
1. Click on the signature line under your Account settings.
2. A pop-up window will appear where a signature can be added
- Add a signature using your finger (for touch screens) or a computer mouse, and enter your First name, Last name and Email address
3. Click Sign
4. After signing the form, the following screen will appear:
5. Click Confirm
Once a signature is confirmed, the signature will appear on the account as follows:
6. Click Save to complete the process.
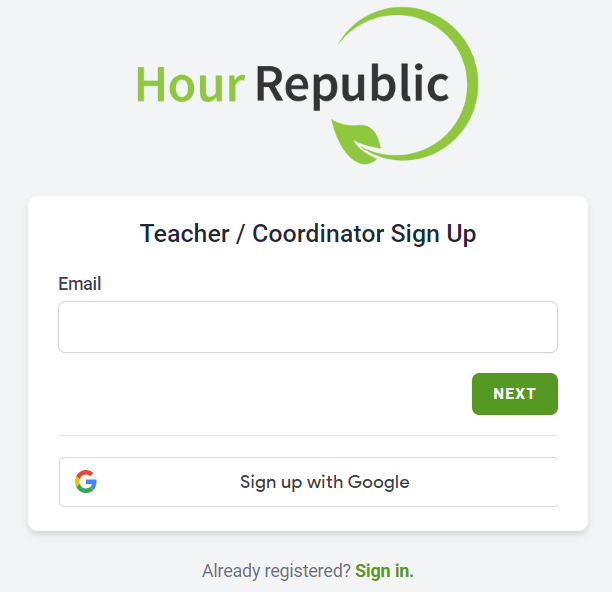


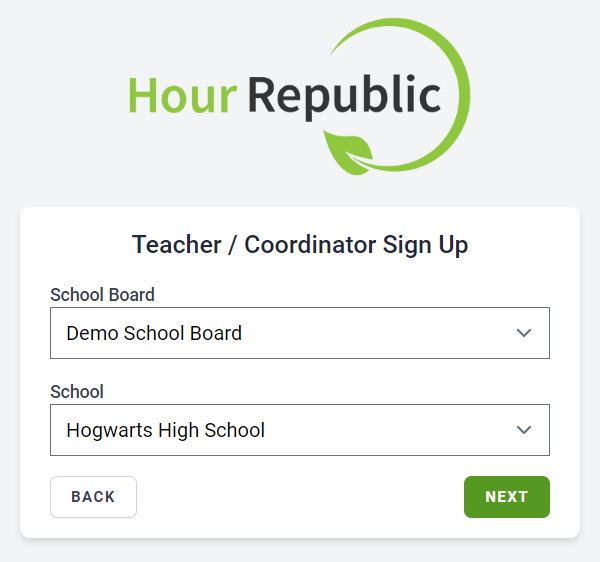
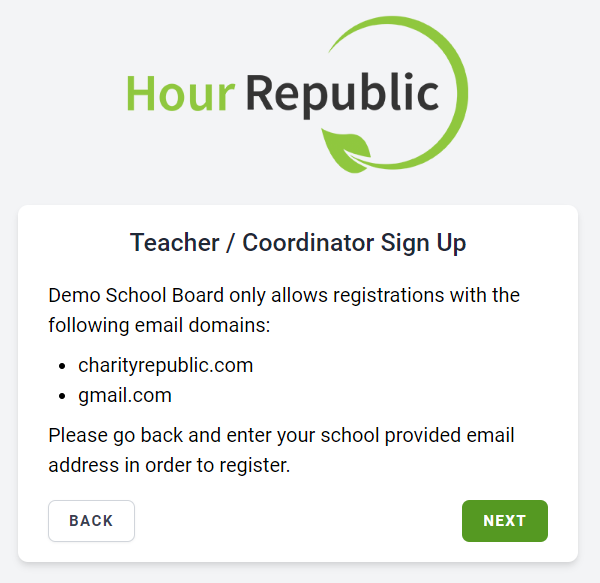

 Register for an Hour Republic account

 Search for Placement Opportunities