Below are steps for creating a SHSM Form.
#1: Click on the Forms tab in Hour Republic to create a new form
![]()
#2: Click the Create Forms button in the top right corner
[this is an option if you prefer to select your students first]
![]()
OR
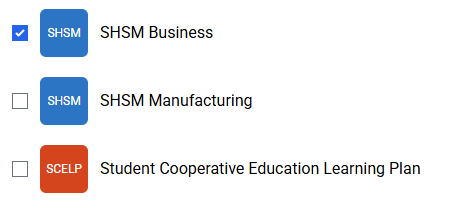
Select one or more form(s) that you wish to create (e.g. check off SHSM Business or SHSM Manufacturing)
#3: Click Create Forms (if you haven’t already)
![]()
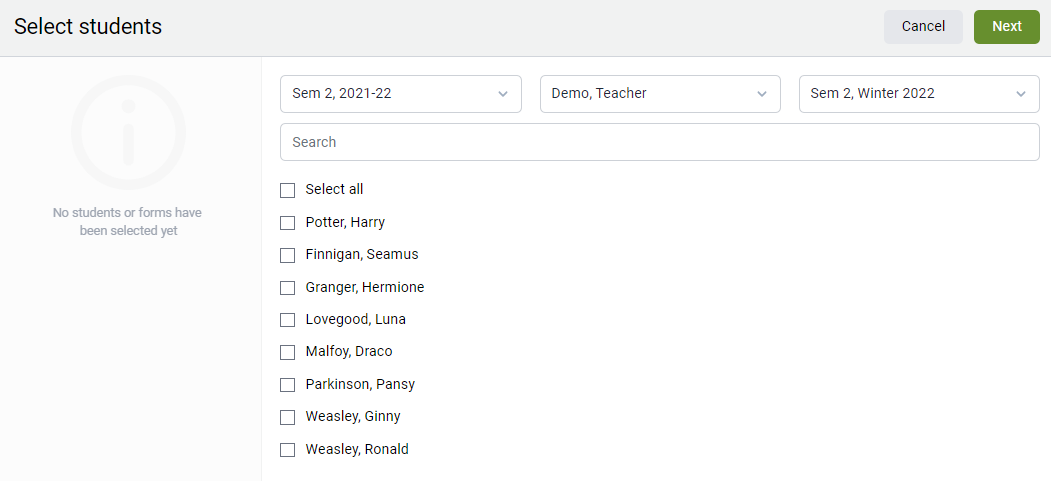
#4: Select one or all of the students that you would like to create a form(s) for, then click Next.
TIP: You can create multiple forms for multiple students at the same time.
We autofill your form with student data that was imported (shared by your school board's IT department)
– Enter SHSM Start Date
– If applicable, enter Exit/Drop Date
– Select Post-Secondary Destination

Add Required Course Components
No need to fill in course details here unless prompted. This section summarizes what students must complete:
- 4 Manufacturing credits
- 3 other required credits (English, Math, Science or Co-op)
- 2 Co-op credits
Log Sector-Recognized Certification/Training
This is where you log certifications and training as the student completes them.
Choose 3 Compulsory Courses (from the provided list in Hour Republic).
Choose 3 Electives (from the provided list in Hour Republic).
Choose one of the three (ICE, Math Literacy, or Coding)
For each, please add:
- Course name
- Hours
- Date Earned
- Counsellor/SHSM Initials
- Data Initials (who entered it)
- Data Entry Date
Example: CPR Level C → 4 hrs → 10/12/2024 → HP → AB → 10/14/2024

Exit/Drop Section (if applicable)
If the student leaves SHSM before completion:
- Check “Student has decided to exit/drop the SHSM.”
- Enter the Reason.
- Confirm Parent approval (by phone if noted).
- Add Counsellor Initials and Date of Approval.
#6 Complete Form
Once the form is complete, you can either
- Save, Finish or Export PDF
- Sign electronically
- Email a request(s) for e-signatures (FAQ here)
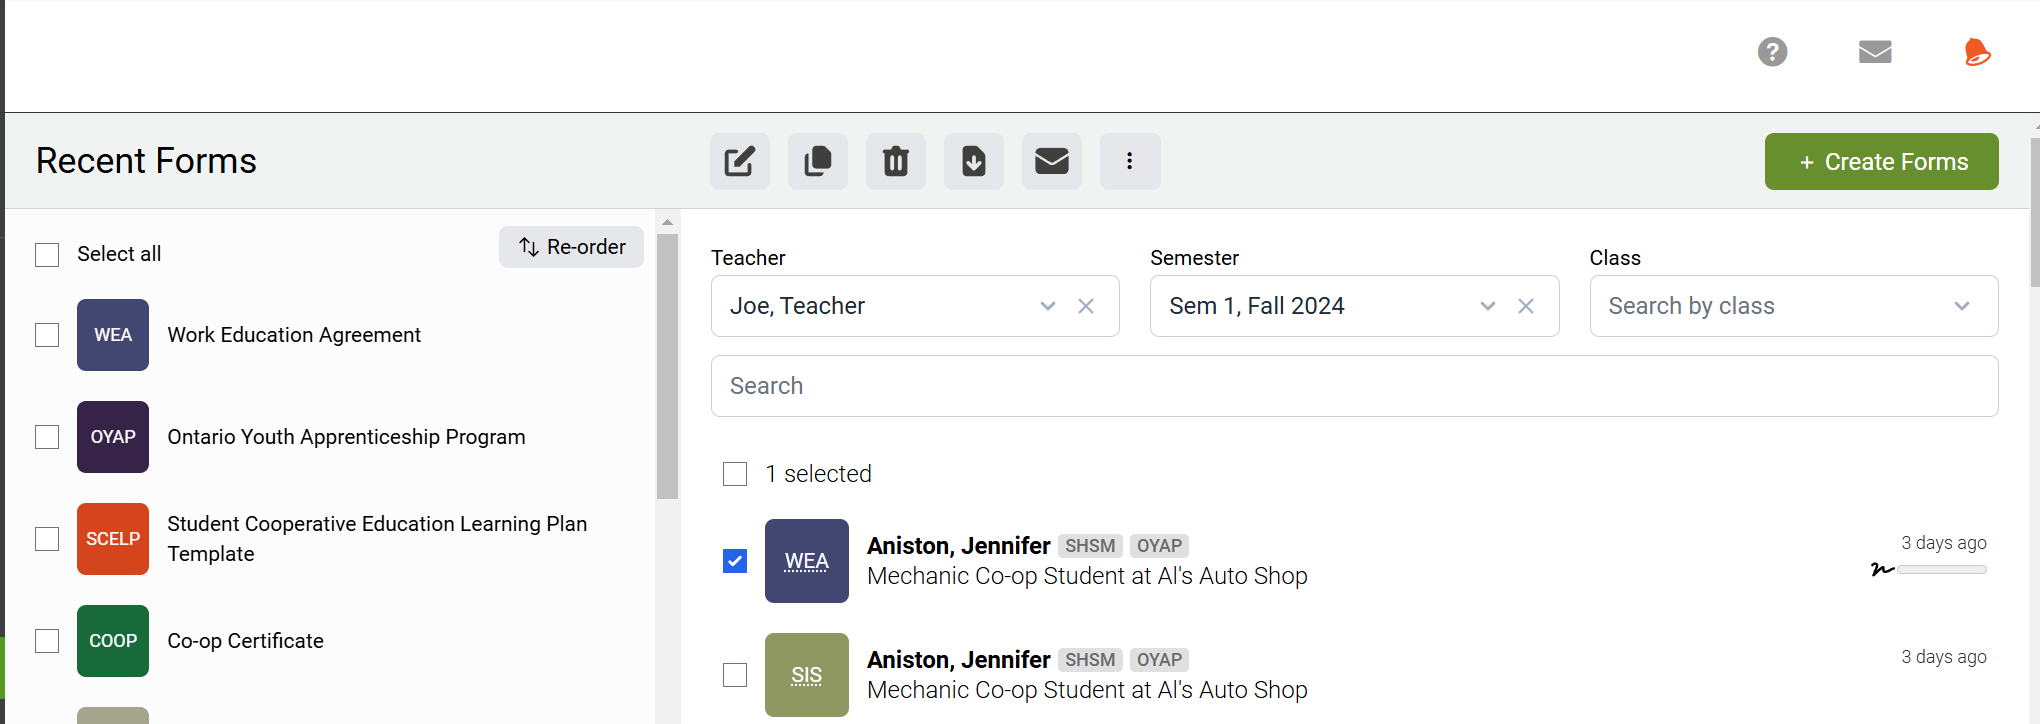
Existing and Copying Forms
From the main forms tab (Recent Forms), you can view all recent forms. When you check off the box beside a form, in order, you have the option to Edit, Copy, Delete, Export, Bulk Request E-Signatures, and Update Teacher or Semester Information.
If you click the Copy option, a new student page will pop-up. Select a student(s) that you would like to copy the form(s) to. This will copy over the all of the form details from one student to another. Now, you can open up the copied forms and edit them as needed.