Student types let you indicate whether a student is in a Co-op, SHSM, or Dual Credit program and can be useful when running reports. Follow this guide to learn how you can create and set student types.
Q. How do teachers/coordinators create new Student Types to be added to the drop-down?
Method A:
1. Locate the sidebar on the left panel, then click on the tab with your school’s name.
![]()
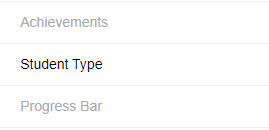
2. Select the tab on the left that says Student Type.
3. Once you’re on the Student Type page, click on the ![]() button.
button.
4. Type in the desired Student Type in the Student Type field.

5. Once you’ve typed it in, click ![]() .
.
Method B:
1. Locate the sidebar on the left panel, then click on the Students tab.
![]()
2. Click on any student’s name.
3. Once you’re on the student’s profile, click on the ![]() icon.
icon.
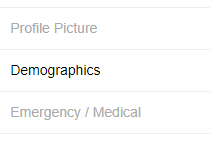
4. Select the tab on the left that says Demographics.
5. Click on the text that says ![]() . This will take you to the Student Type page.
. This will take you to the Student Type page.
6. Select on the ![]() button.
button.
7. Type in the desired student type in the Student Type field.
8. Once you’ve typed it in, click ![]() .
.
TIP
If there is a student type you’d like to remove, select the ![]() button next to it.
button next to it.
Q. How do I Change Student Types?
1. Go to the desired student’s profile.
2. Select the tab on the left that says Demographics.
3. Select the drop-down menu for the ![]() field.
field.
4. Choose the appropriate student type.
5. Once you’re finished, click ![]() .
.