Hour Republic is a software that teachers use to generate workplace documents (E.g. workplace contracts and agreements, apprenticeship forms). Teachers share documents via email with recipients to review and e-sign.
Teachers can send Employers, Parent/Guardians and Students (the “signee”) email requests to sign documents electronically.
#1. The signee will receive an email requesting an e-signature. The message will include the student’s name and the name of the document.
#2. The signee will click the Review & Sign button in the email message.

#3. A separate tab will open where the signee can review the entire form, e-sign and include their First Name, Last Name, and Email address.
The signee will also agree to the terms for e-signatures by:
– checking the box “I agree with these terms”
– clicking Sign, to finalize the signature process
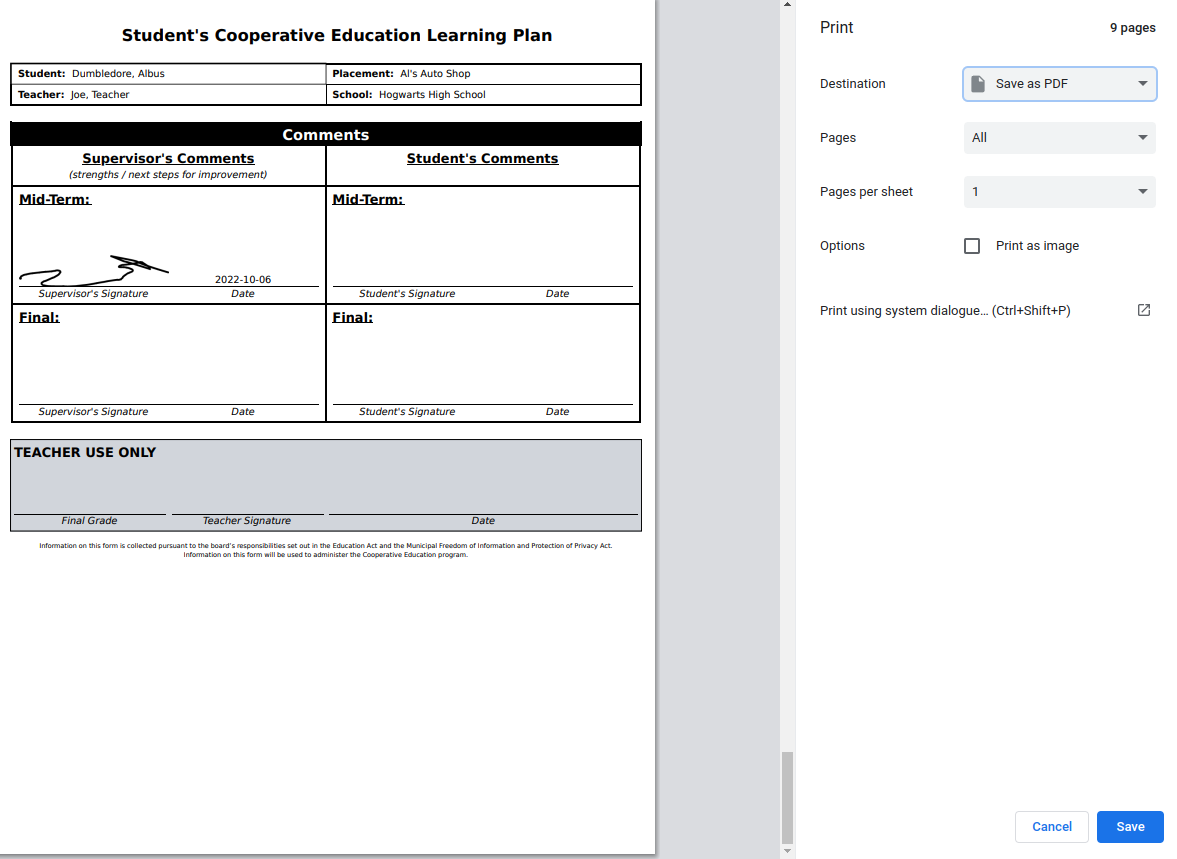
#4. Once the form has been signed, the signee has the option to either download ![]() a PDF version of the form or print
a PDF version of the form or print ![]() a copy of the form.
a copy of the form.
TIP: The signee can return to Review a form several times. Each time, if any new updates have been made to the form (e.g. by a teacher), those changes will appear. The signee can download or print the form multiple times.
NOTE:
On mobile devices, if the entire document isn't visible, an Open button or an arrow icon will appear. Tapping either will allow the user to view the full document.