To begin managing students, click the  tab in the left toolbar
STUDENT LIST
1. Once students sign up, you will be able to view all your students on your dashboard. Teachers/coordinators are able to use the search bar and filters to sort how they see students
2. You can filter students by:
– Status (Active, Inactive, Pending)
– Semester
– Hour type (Extracurricular, Peer Tutor, Placement, Volunteer)
– Hour Status (Draft, Pending, Verified, Rejected)
– Classes (i.e. AM/PM classes, or streams)
3. Click any of the headers to sort the order of students (i.e. A-Z or Last Login)

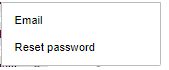
4. Use the  on the right side of the student row to email a student directly, or send them a password reset
STUDENT HOURS
1. Click anywhere along the student row to go to a specific student’s profile
2. On the student dashboard, teachers/coordinators are able to manage students individually
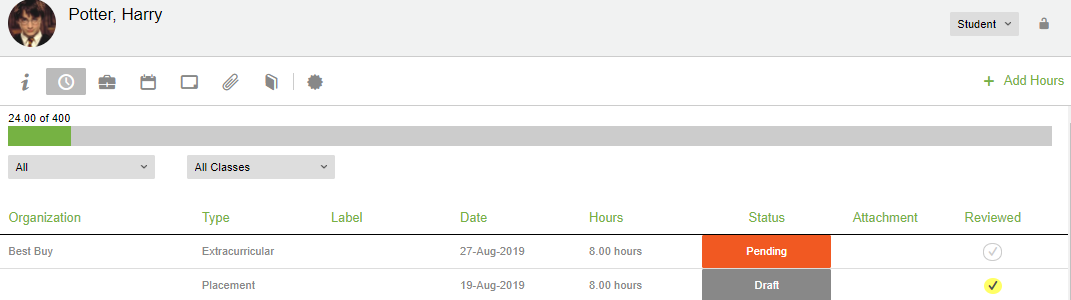
3. On the main dashboard, you can view the student’s progress bar, add hours for them, view their weekly logs and use the icons to manage the student’s profile.
STUDENT PROFILE
1. Click the  icon to manage a student profile
2. Under the General tab teachers/coordinators and students can edit/input basic information including:
– Name, Preferred Name, ID/OEN, School Board/Institution, School/Program, Parent/Guardian’s Email, Year Started, Email, Status, Semester, Sign Up Date, End Date, Associated Course, Username, Login Code
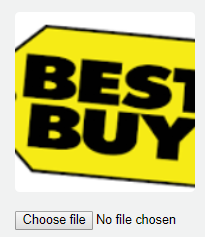
3. Click Profile Picture to upload a photo
4. Under the Demographics tab indicate the Student Type (i.e. Co-op, SHSM, Placement), Gender, DOB, Age Group, Keywords
5. Add Employers
6. Add Emergency Contact
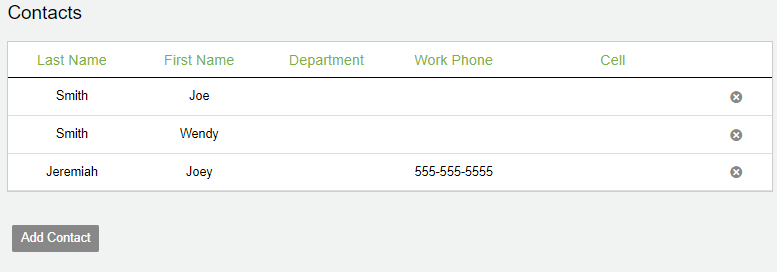
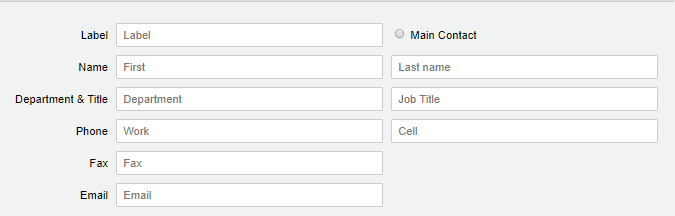
7. Add Contacts
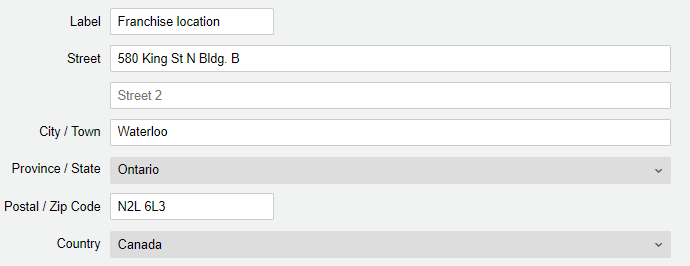
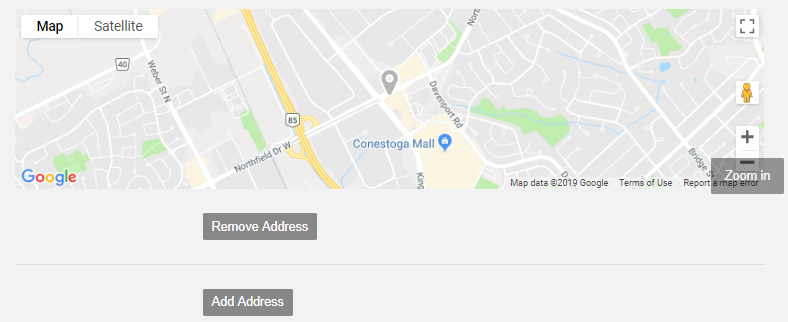
8. Add Addresses
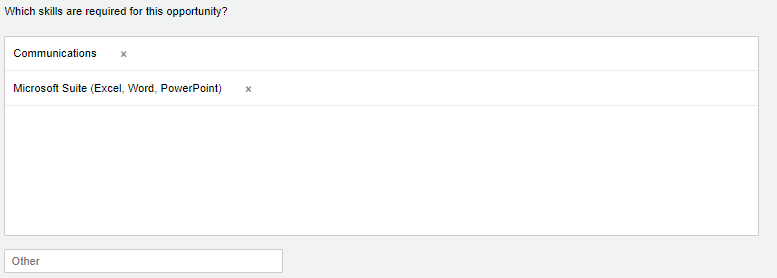
9. Add Volunteer Interests
10. Add Career Interests
11. Add Classes
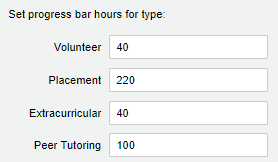
12. Add Settings (here is where you can set up the total number of hours for each progress bar)
Tip
Scroll down to the bottom of the General tab to see the username and email linked to the student’s account

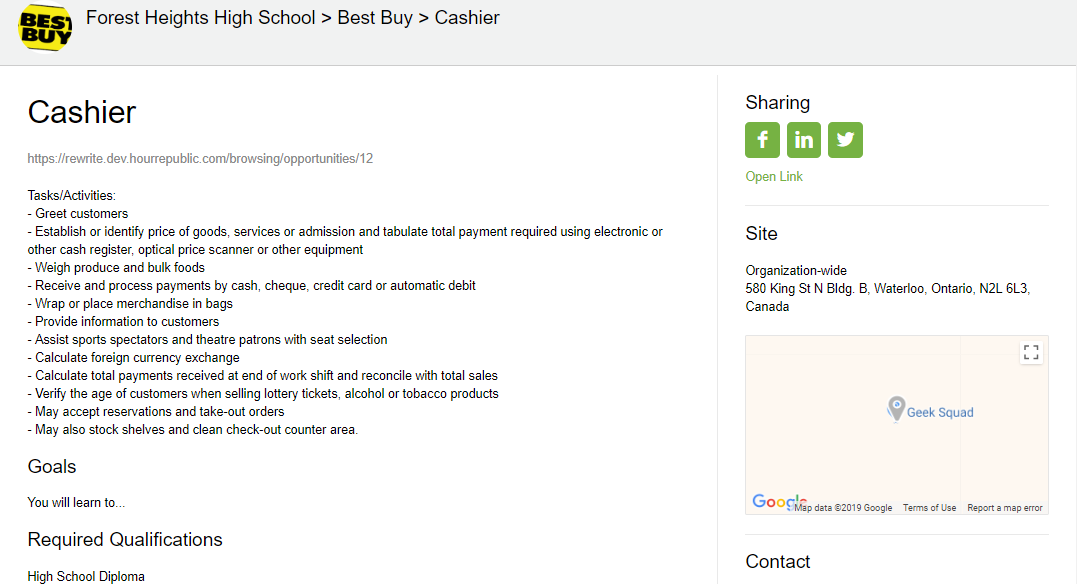
ORGANIZATIONS/COMPANY
1. Click the  icon to manage student’s Employer/Company
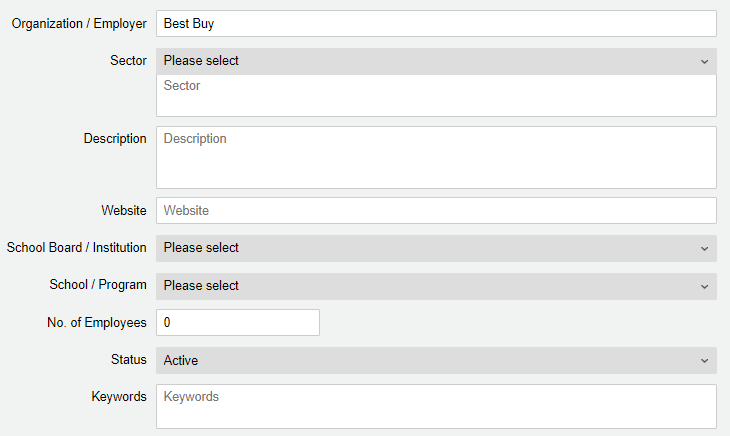
2. To attach an Employer/Company to a student click the in the top right corner
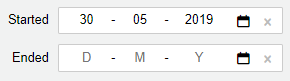
3. Once you have chosen a Client from the drop-down, you can add the Start and End Date, Notes and Save.
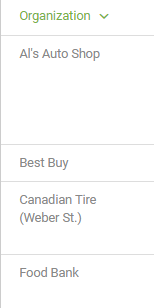
TIP:
You must add Organizations/Employers first before assigning them to students. Click here for instructions.
AVAILABILITY
1. Click the  icon to manage a student’s Availability
2. Click thein the top right corner to begin
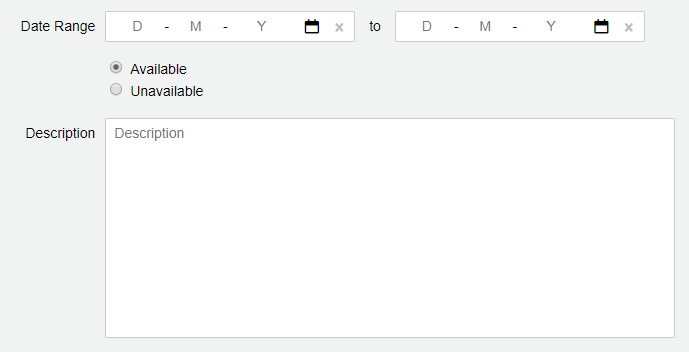
3. Under the General tab, add the Date Range of the student’s availability, mark whether the student is available during that date range, and add a description
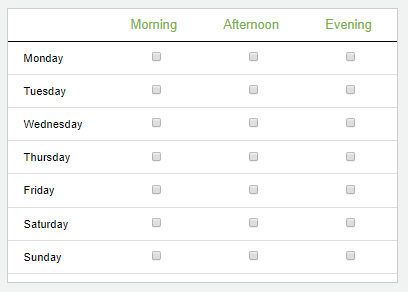
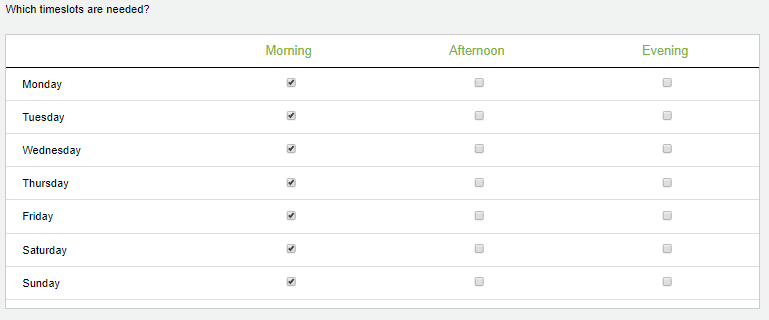
4. Under the Time Slots tab, a teacher/coordinator or student can mark which days and times the student is available then save
NOTES
- Click the
 icon to add or manage Notes for a student
- Select the in the top right corner to begin
- Add a subject line, check off the Public box if you would like the student to also see the comment, add a note and click Save

ATTACHMENTS
1. Click the  icon to add attachments to a student’s profile
2. Select the in the top right corner to begin
3. Upload the image or document you would like to attach and add a description (optional)
4. Click Save

REFLECTION/JOURNAL TOPICS
1. Click the  icon to add a Reflection
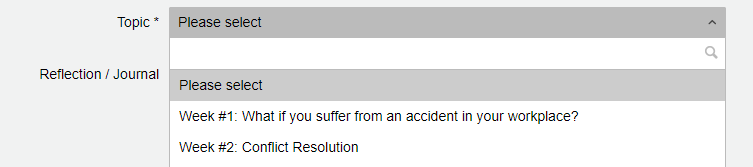
2. Select the in the top right corner to begin
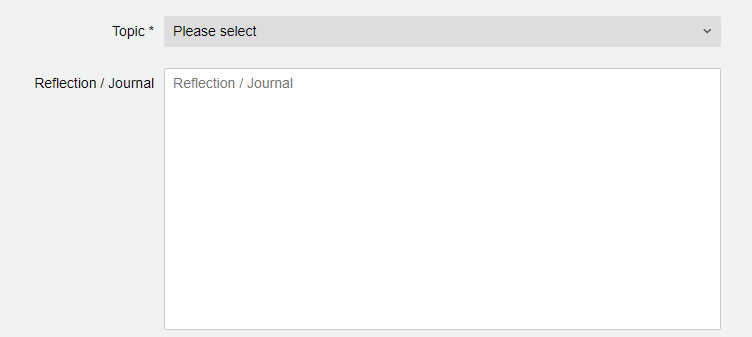
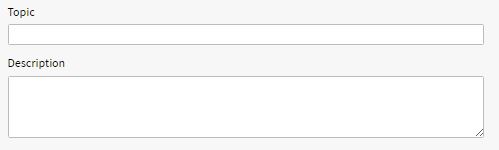
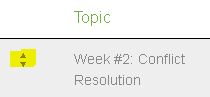
3. Pick a Topic and a question and any attachments relating to the topic will appear
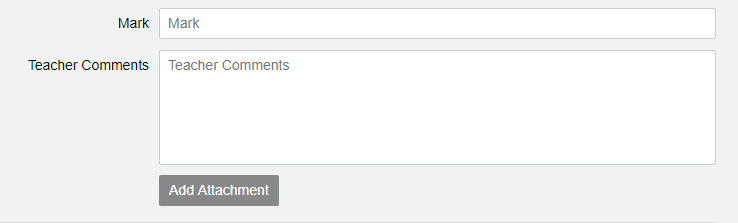
4. Fill in the Reflection/Journal Field
5. Once finished, Save or Save and Submit the Reflection
For more details on how to add a Reflection, Click here
ACHIEVEMENTS
1. Click the  icon to add an Achievement such as First Aid Training
2. Select the in the top right corner to begin
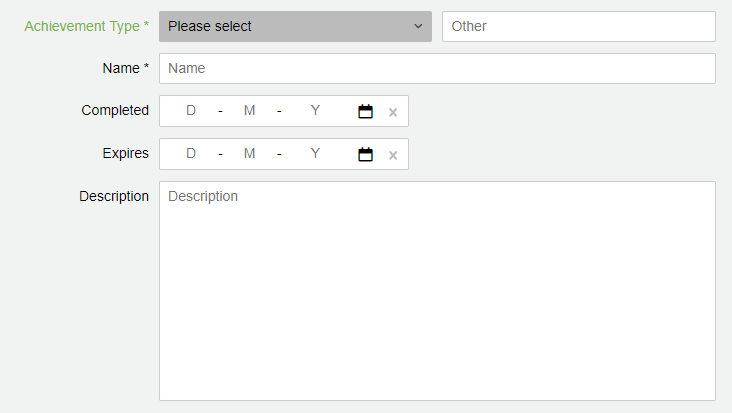
3. Under the General tab, select the Achievement Type from the drop-down [or teachers can create their own by clicking  ]. Next, fill in the name of the achievement (e.g. Safety Training Workshop) or use the default selected, the completion date, expiry date, and/or a description of the achievement.
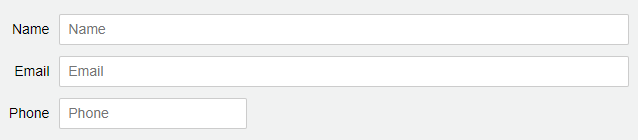
4. Next, fill in the information on the Issuer’s name, email, and phone
5. Lastly, add attachments relevant to the achievement

6. Once finished, click Save.

 (or, Edit for existing hours)