Q. How do Teachers/Coordinators update the progress bar for an individual student?
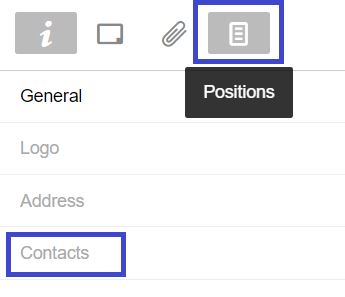
1. Click on the ![]() tab
tab
2. Locate and click on the student that you would like to adjust progress bar hours for – this will take you directly to the student’s Hour section.
3. Click on the gear ![]() icon under the progress bar (right-side of the page)
icon under the progress bar (right-side of the page)
4. Now you can adjust the progress bar hours for each Hour Type such as Placement/Co-op and Volunteer hours
5. Click ![]() to save any changes
to save any changes
NOTE:
Any changes made to an individual student's minimum hours will only apply to the specific student and will differ from the default minimum hours set for the school.

Students can also update their progress bar by following the same steps.
Q. How do Teachers/Coordinators update the progress bar settings for their school?
You can set the progress bar hours for your school. This gets triggered for new student registrations but does not overwrite the progress bar settings for students who have already registered.
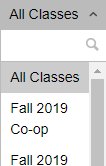
1. Click on the tab (left panel) with your school’s name
![]()
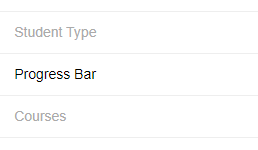
2. Select the tab on the left that says Progress Bar
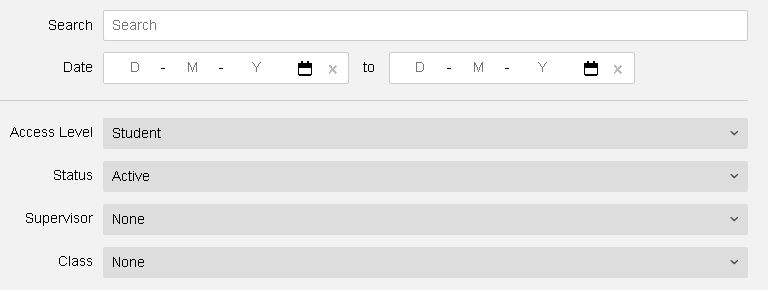
3. Once on the Progress Bar page, you can adjust the minimum hours needed for different hour types such as Volunteer, Placement / Co-op, and Extracurricular hours, by typing in the desired number.
![]()
4. Once you’re finished adjusting the minimum hours, click ![]()
Q. How do I Use the Progress Bar?
1. Progress bars for individual students can be viewed in the Hours section of the student profile.
Students can adjust their individual progress bar settings by clicking the gear icon below their progress bar.
![]()
2. The progress bar displays the total number of hours a student has including their Rejected, Verified, Pending and Draft hours. There are 5 colours used for the progress bar:
Red = Number of Rejected Hours
Dark Grey = Number of Draft Hours
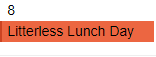
Orange = Number of Pending Hours
Green = Number of Verified Hours
Light Gray = Number of Hours that have yet to be completed