How do students create or access their forms and other learning plans?

Students have the ability to create and/or contribute to their learning plan or other forms such as WEAs, OYAP forms, etc.

The process for creating a form or plan is the same for students and teachers. The main difference being, students only see their own information whereas teachers have access to their entire class.

#1: Click on the Forms tab in Hour Republic to create a new form

#2: Select a form(s)
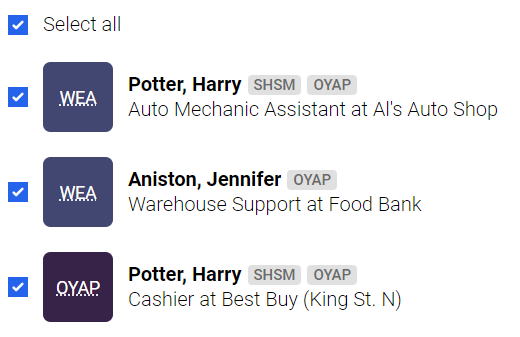
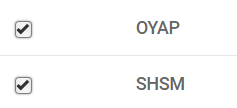
Select one or more forms that you wish to create by clicking the checkbox beside the form (e.g. check off Learning Plan, WEA and OYAP)

#3: Click the Create Forms button in the top right corner

NOTE: If your teacher has already created a learning plan or form for you, then please skip this step (Step #4)

#4: Begin filling out or editing the form

NOTE: 
If you don't have a semester or teacher selected at the top of your form, then you can set it by clicking the Edit button next to appropriate field.  


#5: Some forms will have the option to Add Course Details and/or Add Employer Details.

Click the Add button to view and select from a list of all the Ministry of Education courses. Click the Add button again to add multiple courses.

#6: Add the Employer information

There are 2 ways to add an employer. You can either search for an existing employer or add a new employer. Before adding a new employer, please ensure that you have searched for your employer first, in order to avoid duplicates.

Add an Existing Employer
The search bar is smart. If you type in a few letters, it will find a match. Once you have selected an employer, select the Contact and Student Position (i.e. Cashier).
Adding a New Employer
If you are unable to find an employer via a search, click the Add Employer button to create a new employer. You can follow this FAQ to add a new employer.

#7: Fill out the remainder of the form.

#8: Once the form is complete, you can either
– Save, Finish or Export PDF
– Print
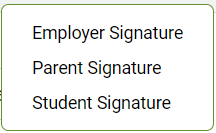
– Sign electronically
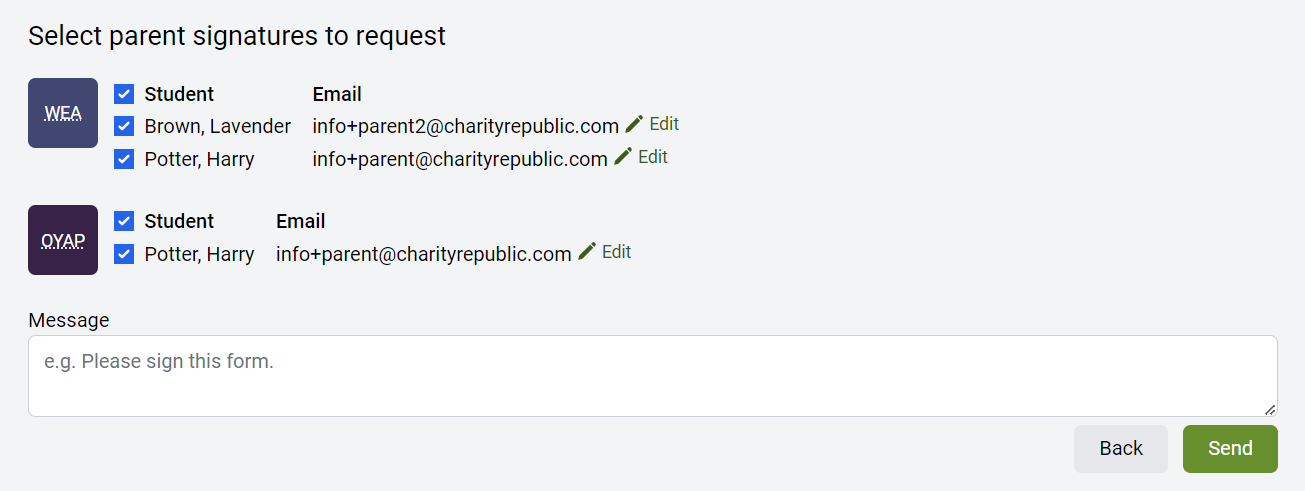
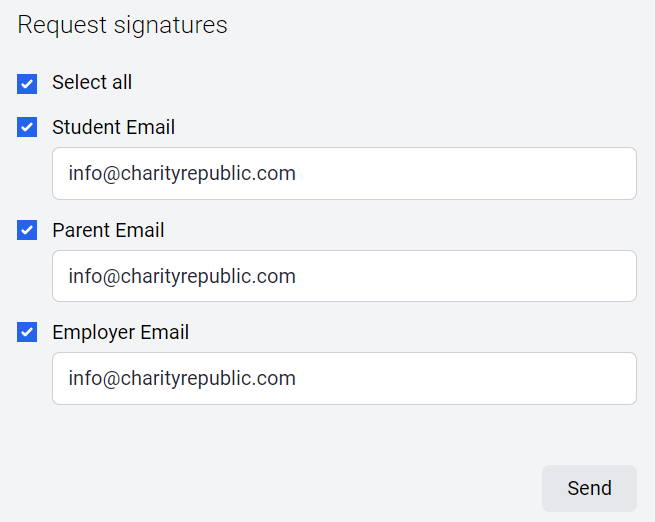
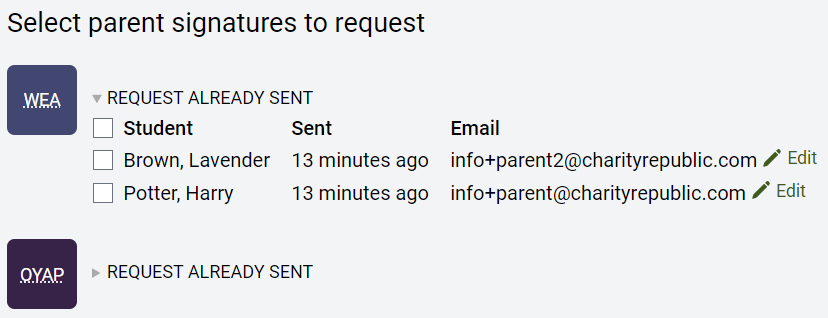
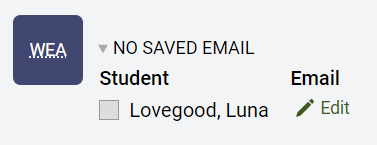
#9: Email a request(s) for e-signatures

Students can e-sign forms directly from their accounts, or via email.

Students only have access to their own signature field and to send an e-signature to their parents/guardians (so that they can sign electronically that way).
rECENT FORMS

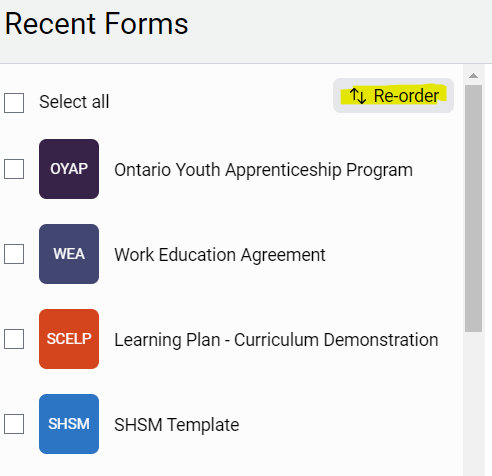
All new forms that you or your teacher create for you will appear under Recent Forms (right-side of screen). Click on the plan or form you just created to Edit, Copy, Export or Delete.

A Student is Missing When Creating Forms

If you are having trouble locating a student when creating a form, then please read below for possible reasons.

A) The student is being filtered out

Remember to check your filters! This is one of the most common reasons a student cannot be located when creating forms. It’s possible that students are being filtered out by one or more of the following filters:

The most common culprit is the Semester filter.

  • Students who were previously enrolled in co-op may still be associated with their previous semester.
  • The student may be associated with a different semester in the file that your IT department shares with us.
  • Our semester filter defaults to the current semester (i.e. around Feb 1st, the semester filter switches to Sem 2). There is a time period, close to semester change, where you may want to locate students for an upcoming semester. Students may be associated with the upcoming semester.

You can remove filters by clicking on them and setting them to All or by clicking on the x located inside the drop-down: 

TIP: You can update a student's semester by going to their profile and updating their Semester field:

B) Student data has not been shared with us yet

If the student is still not showing up after the filters have been cleared, this means that they probably are not in our database.

If the student has just joined your co-op/ class, it can take up to 24 hours for their data to become available in our system. It depends on when the data is captured by your IT department and when it is subsequently shared with us.

If 24 hours have passed and the student is not accessible when creating a form, then we recommend reaching out to our customer service team at info[@]charityrepublic.com. Please share the full name of the student and their OEN.


Why isn’t an Employer or Parent/Guardian receiving my email to verify hours?

If a Organization/Employer or Parent/Guardian is not receiving hour logs, then please review the following possible reasons:

  • The contact’s email was entered incorrectly
    If the contact’s email has been inputted incorrectly (e.g. spelling errors), then the student’s submission will not go through. Please ensure that students are submitting their logs to the correct email address.

NOTE: You can confirm a contact’s email by reviewing a student’s hour logs to see which email address has been recorded.

  • Verification emails have not been received by a contact or organization    Emails may not be received by the contact or organization as a result of their inbox being full or their email server being down. To check if this is the case, email the organization directly. If they are experiencing issues with their email, please call the organization to let them know.
  • Verification emails have been sent to the spam or junk folders 
    Emails from “noreply@charityrepublic.com” may be directed to spam or junk folders depending on the email firewall in use by a contact or organization. Please ask the contact to check their Spam and/or Junk folders and to add “noreply@charityrepublic.com” to a Safe List. They can also search their Inbox, searching “Hour Republic”, to locate the email message.

If the organizations needs assistance checking their spam folder or adding our email to their safe list, please send them this FAQ.

If none of the above reasons apply, then there are alternate ways to verify hours:

  • Share a direct link of the hour log with an Organization/Employer or Parent/Guardian
    Teachers can share a direct link with an Organization/Employer (or with Parents/Guardians specifically as it relates to volunteer hours) to verify  hours. Simply click on the “Copy hour verification link” and paste that link into any message. That will take an employer directly to an hour summary web page where they can verify hours. This is a helpful alternative when employers have not received an hour submission via email. Or, when you need someone else to verify an hour log (e.g. supervisor who is covering off for a colleague).
  • Re-send the email to a Company or Contact   
    If the company has not verified the hours after a long period of time, then please have the student edit their pending hours and click   to resend the verification email to the company or contact.
  • Teachers can “Save and Approve” the Hours       
    If a student cannot contact their organization and their hours are not being verified, guidance can manually save and approve of a student’s hours without verification from the organization.

Draft Email to Employer

I understand that you are not receiving verification emails from Hour Republic.

Sometimes, emails from Hour Republic (noreply@charityrepublic.com) may be directed to your Spam or Junk folders depending on the email firewall in use by your organization. Please check your Spam and/or Junk folders to locate the message.

If you are still unable to locate the email message, then please search your Inbox,  searching for “Hour Republic”, to locate the message.

Finally, you can add “noreply@charityrepublic.com” to a Safe List. This can usually be done directly in your email account, or via your IT department.

How do students generate a Student Workplace Preferences form?

Below are instructions for students on how to generate the Student Workplace Preferences form.

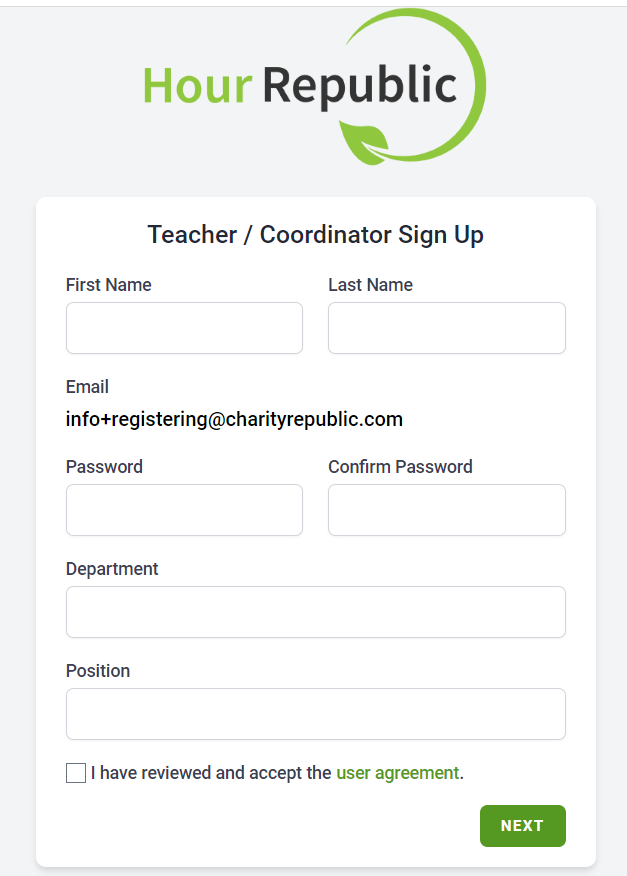
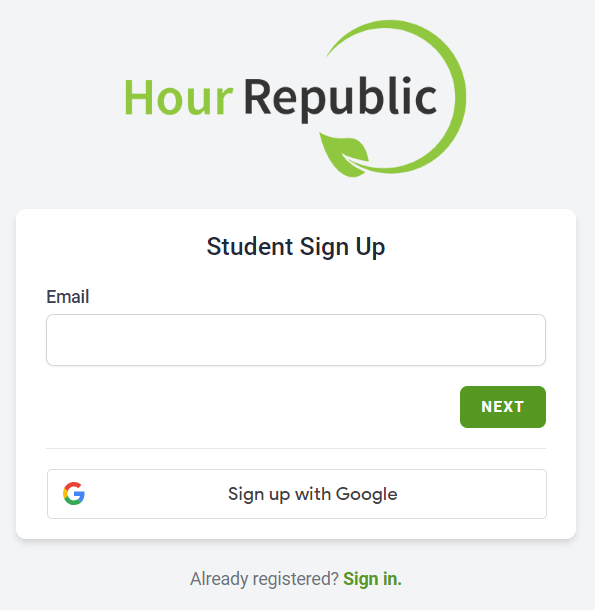
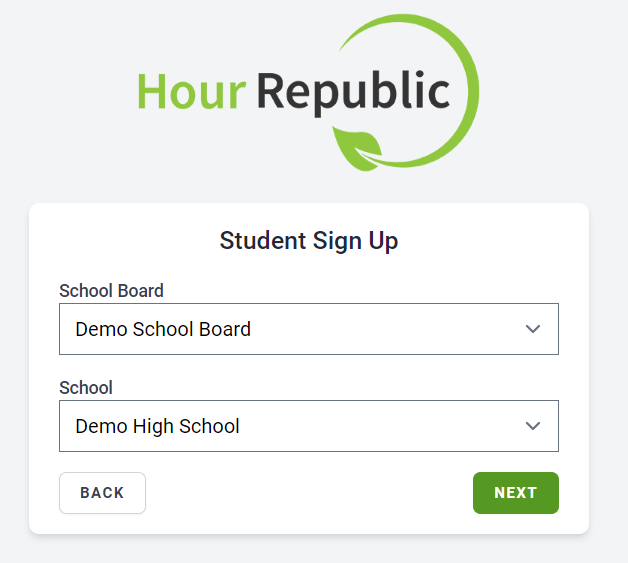
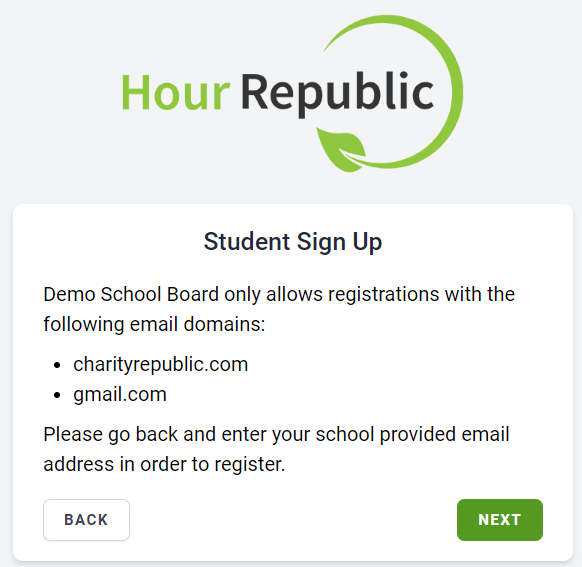
 Register for an Hour Republic account

Login to your UGCloud portal and click on the VLE (Brightspace) icon. 

From here, click on the Hour Republic icon (bottom-right) and register as a student 
– The OEN field is not required (optional)
– Your teacher may provide you with a signup code. If so, add that code to the Signup Code field.

Please only register once. After registering, when you click on the Hour Republic icon in the future, it automatically logs you in.

Search for Placement Opportunities

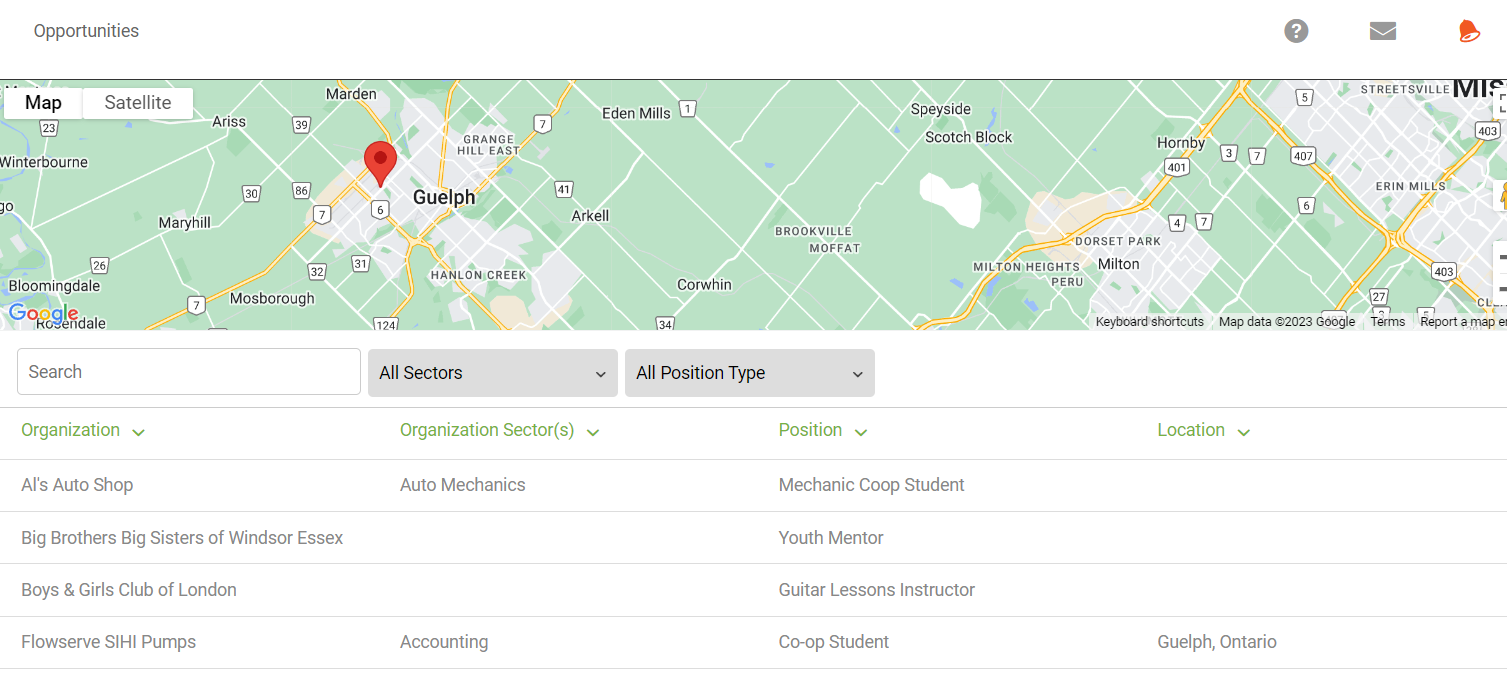
Click on the Opportunities section  in the left panel.
Here, you can view placement opportunities by Organization, Position, Location, and Sector.

Click on a specific placement to review any details associated with the placement – this includes the placement description, qualifications and contact information.

Create a Student Workplace Preferences form

*Reminder to only create one Student Workplace Preferences form.

#1: Click on the Forms tab in Hour Republic

#2: Select the Student Workplace Preferences Form by clicking the checkbox on the left-hand side, under the Recent Forms heading


#3: Click the Create Forms button in the top-right corner

#4: Begin filling out or editing your form

NOTE: 
If you don't have a semester or teacher selected at the top of your form, then you can set it by clicking the Edit button next to appropriate field. 
Note: There are 5 employer options listed (see example below for “Employer 1”). Select your Top 5 employers by completing the following fields for each:
– Rank
– Employer (i.e. Company name)
– Position (i.e. Job Title)
– Sector


#5
: Once the form is complete, click Save or Finish
Click Cancel if you do not want to save your form or any revisions
– Click Export to view your form in PDF format.

– You can download or print your form after it is exported: 

EDIT YOUR FORM

All new Student Workplace Preferences form(s) that you or your teacher create will appear under Recent Forms on the right-side of your screen. Click on the form that you just created to Edit.

Webinar Schedule

We host live webinars where we walk you through our software (from start to finish), and answer any questions that you may have.

Co-op Hour & Activity Tracking
Tuesdays @ 12:00pm
Wednesdays @ 10:00am

Form & Learning Plan Generator
Wednesdays @ 12:30pm
Thursdays @ 1:00pm

Volunteer Hour & Activity Tracking
Thursdays @ 11:30am

*All times are in EST.

If you are interested in attending, then email us at info[at]charityrepublic.com with the time slot(s) that you are available. Then, we will happily share the webinar details with you.

OYAP: How to Export / Print Forms, Letters, Certificates and Cards

Export and print OYAP forms for one student 

After creating an OYAP form for a student, click the Export button in the
top-right corner of the form. You can choose to export the following OYAP forms:

  • OYAP Participant Application Form, sections 1 & 2 (“Form PDF”)
    The OYAP card appears on page 4 of this document.
  • OYAP Letter
  • OYAP Certificate
    This OYAP certificate is meant to be printed on the Ministry's OYAP paper template that is used for certificates

Export and print OYAP forms for multiple students

  1.  In the main Form section, under Recent Forms, (i) select the OYAP Form under the Recent Forms section and then, (ii) select the student forms that you wish to export
  2. Click on the Export Forms icon. You can choose to export the Form PDF, OYAP Certificate or the OYAP Letter. Once exported, the forms are collated into one PDF document that teachers can download or print.