Please note that teacher accounts undergo an internal verification process before access is provided. For quicker access, please email info[at]charityrepublic.com and notify our team when you have registered for a teacher account.
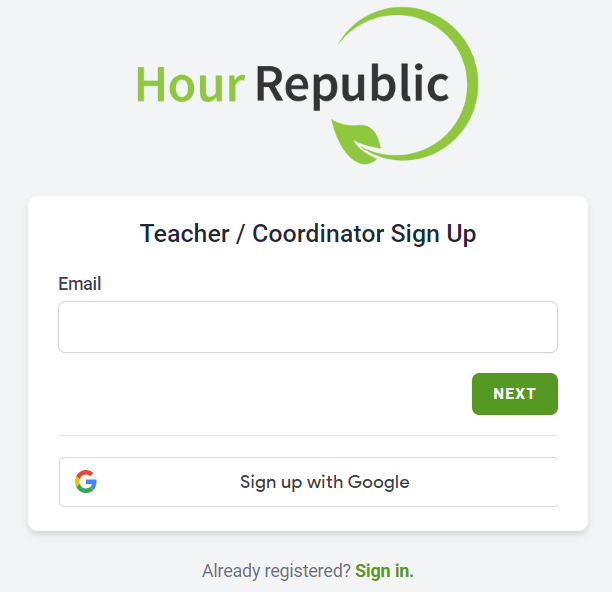
#1. Click here to start the teacher registration process.
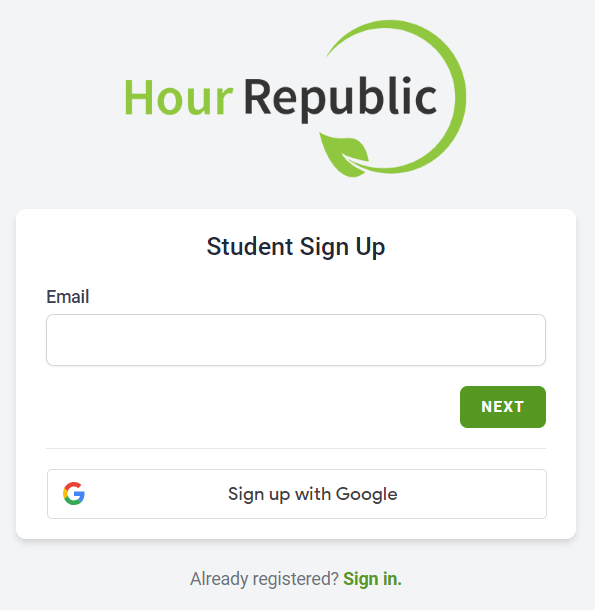
#2. Enter your school-assigned Email address & click Next, or click the Sign up with Google button
*Only use the email address assigned to you by your school district or institution. Do not use your personal email address unless advised.
#3a. If Sign up with Google is selected, then proceed to this FAQ: Google Sign Up
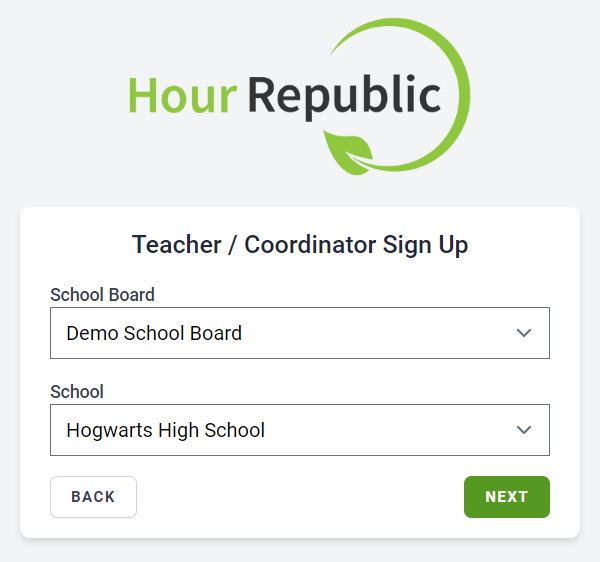
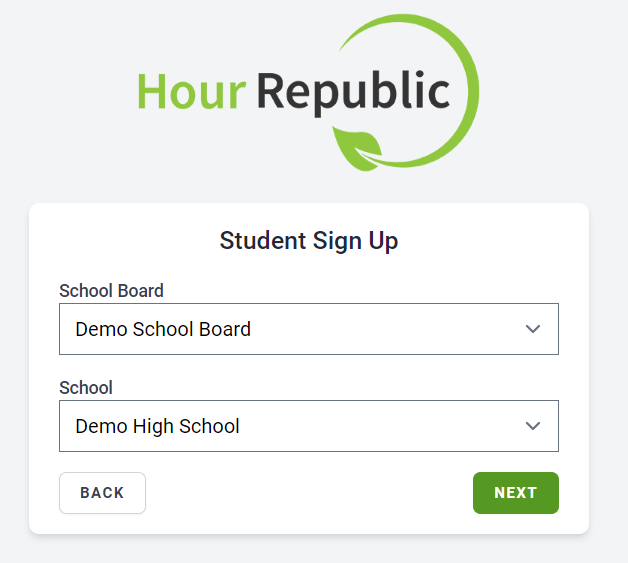
#3b. Select your School District or Institution as well as your School or Program, and click Next
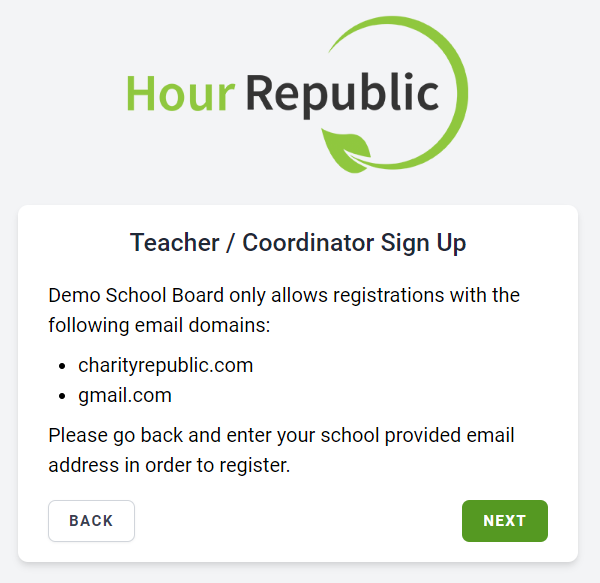
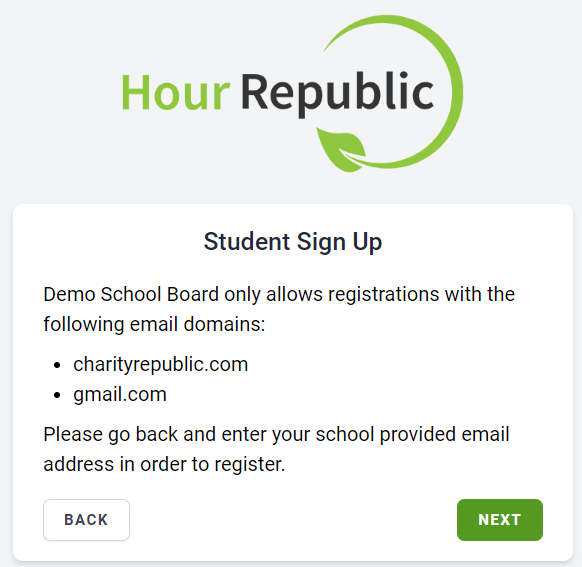
➡️ If the email domain that you tried registering with does not match, then you will see a message like this:
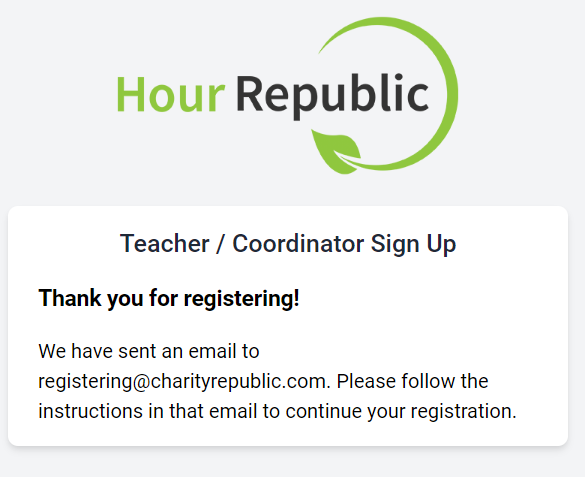
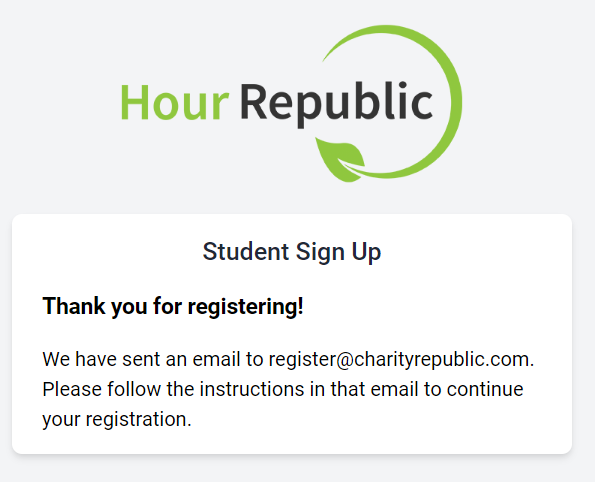
#4. “Thank you for registering!”
We sent you a verification email. Check your email to continue the registration process.
The email comes from noreply@hourrepublic.com and the link will expire in 2 hours. If it has expired, then try registering again, and a new email will be sent.
===
➡️ If you did not receive the email, then:
(i) Check your spam or junk folder
(ii) Search your email for: noreply@hourrepublic.com
(iii) Report the issue to our customer service team
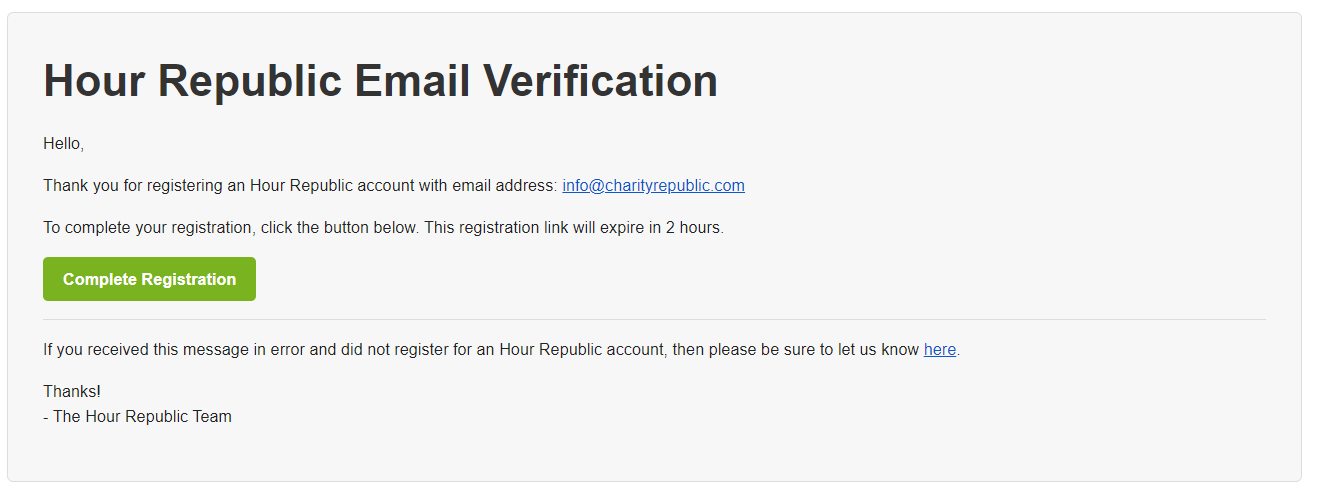
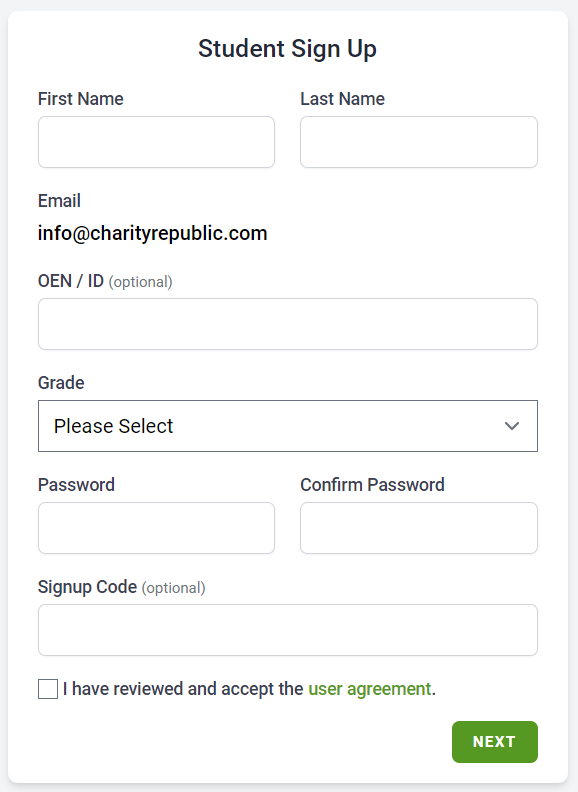
#5. Click the Complete Registration button in the email that you received
#6. Complete the registration form and click Next
Password Tips
– Passwords require a length of at least 8 characters
– 8 character passwords require at least one special character
– Passwords with 9 or more characters don’t need any special characters, capitals or numbers
– We recommend creating a password that consists of 2 random words (or more) followed by a 3 character number. For example: word-word-word#

Congratulations! 😀
Please note that teacher accounts undergo an internal verification process before access is provided. For quicker access, please email info[at]charityrepublic.com and notify our team when you have registered for a teacher account.
Already have an account?
If you registered for an Hour Republic account previously, then you will be redirected to the Sign In page. Please login, or reset your password if necessary.


 Register for an Hour Republic account

 Search for Placement Opportunities

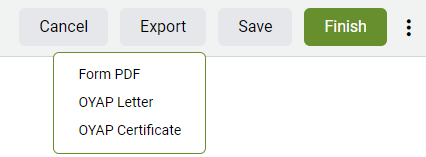
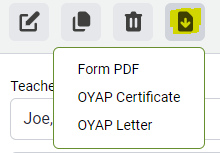 rs can download or print.