KEY INFORMATION
When adding a new Organization/Employer to Hour Republic, it is important that you fill in the following information. This information will show up for students when they track hours.
1. Organization/Employer name (eg. Best Buy, Walmart)
2. Contact name (i.e. Name of supervisor; make sure to include their email address)
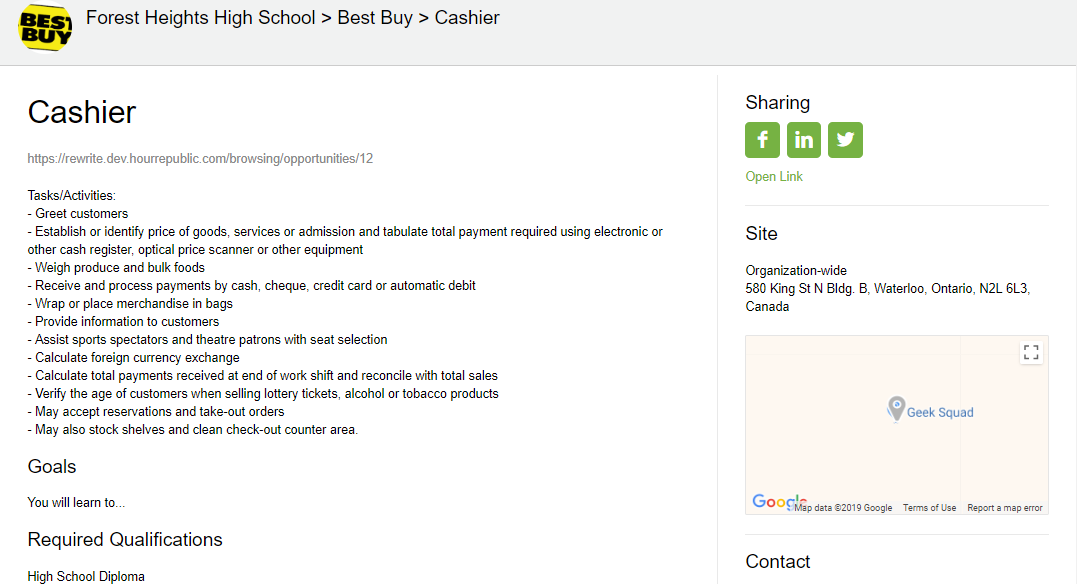
3. Position name (i.e. the position of the student at placement such as Cashier or Kitchen Assistant)
LETS BEGIN ADDING AN EMPLOYER
1. To add a new Organization/Employer, click the ![]() button on the left toolbar
button on the left toolbar
2. Select the![]() icon in the top right corner
icon in the top right corner
GENERAL
1. Fill out the general fields including: Organization/Employer, sector, a description, website link, and School Board/Institution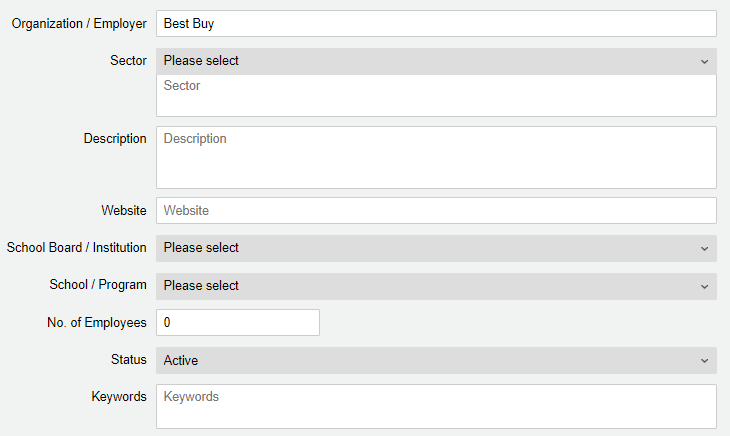
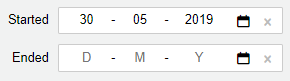
2. Choose to add a start and end date the Organization/Employer is available
LOGO
1. Click the logo tab to add an image for the Organization/Employer

ADDRESS
1. Select the Address tab and fill out the following fields to generate a location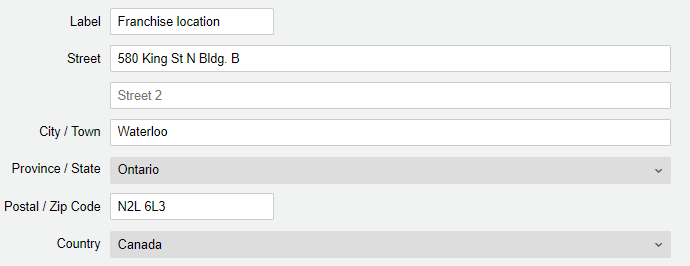
2. Once you have filled out the address, it will mark the location on a map
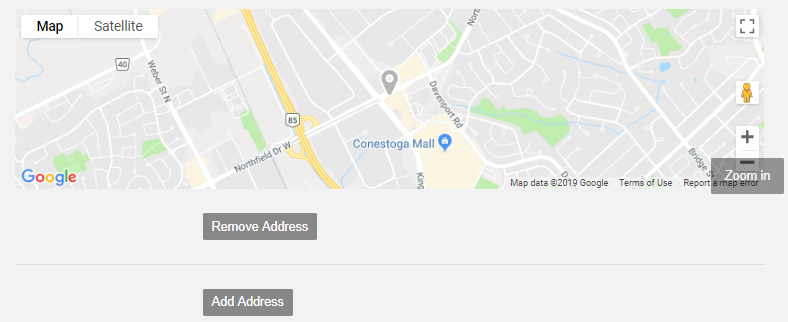
3. You can click ‘Remove Address’ to detach the location from the organization/employer or select ‘Add Address’ to create a new one
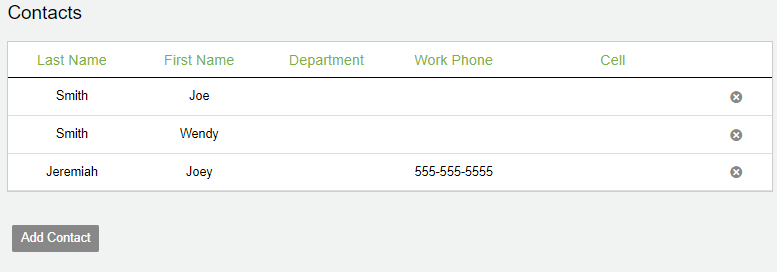
CONTACTS
1. Click the Contacts tab to add new supervisors to an Organization/Employer
2. Along the top of the Organization/Employer page you will find 3 icons
– ![]() Use this icon to add notes private/shared notes
Use this icon to add notes private/shared notes
– ![]() Add attachments such as PDF, pictures, word documents
Add attachments such as PDF, pictures, word documents
– ![]() Create new positions by clicking the icon
Create new positions by clicking the icon
POSITION
1. On the Positions page, click the![]() icon to create a new position, or select
icon to create a new position, or select ![]() to generate a pre-existing position
to generate a pre-existing position
2. Fill out the following fields to create a position
- General
– Position Name
– Type (Placement or Volunteer)
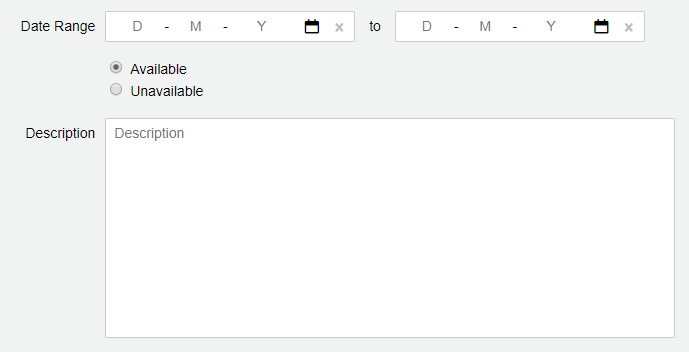
– Date Range
– Contact person
– Address
– Description (i.e Tasks and Activities)
– Publication Dates
– Mark the opportunity Published to keep private, or Published for all students to view - Expectations
- Goal & Benefits
- Qualifications & Training
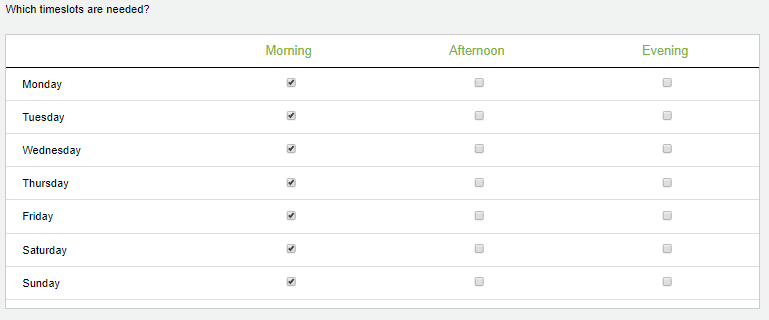
- Scheduling
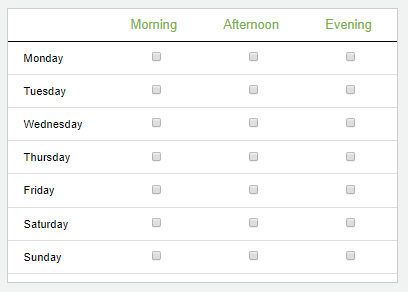
– Add the time commitment
– Duration (i.e. September-February or 3 months)
– Daily timeslots for the position
- Demographics (Age, Gender, etc..)
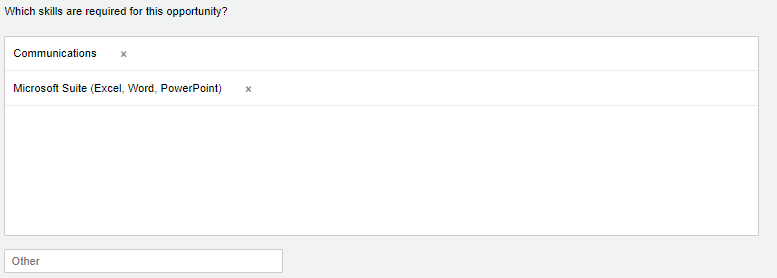
- Required Skills
- Developed Skills (Which skills are developed in this opportunity?)
- Once all the skills are filled out, click
 to see how students view the position/opportunity


 (or, Edit for existing hours)