Can’t remember your password? Please follow the instructions below.
Log In Page
1. On the Hour Republic home page, click Log In

2. Click the Reset Password button

3. Enter your email address, then click Reset Password, and you will be sent an email containing your new password

Tip
Change Your Password
If you would like to update your newly reset password into something that is easier to remember, then follow these steps:
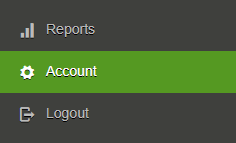
1. Visit to your Account Settings
2. Change your password in the Password field

3.Click ![]()
Teachers / Coordinators Can Reset Passwords
Students can ask their teacher/coordinator to send them a temporary password.
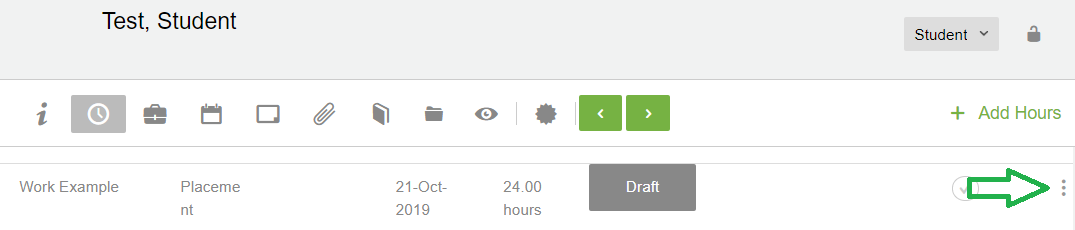
(i) In the Students section, you will notice 3 dots to the right of a student name ![]()
Click the 3 dots, and select Reset Password in the drop-down. This sends the student a temporary password.
(ii) Under the student’s profile, click this icon ![]() then click the General tab
then click the General tab
At the bottom of the General tab, you can see the email address associated with the student’s registration as well as the student’s username.

Teachers / Coordinators can look up the username and email address associated with your registered account:
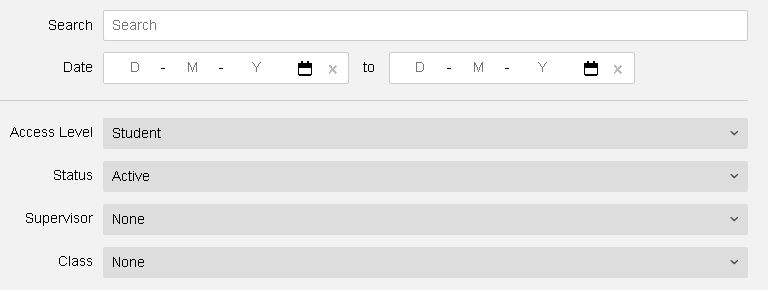
(i) In the main Students section, there is a Username column that shows a student’s username
(ii) Under the student’s profile, click this icon ![]() then click the General tab
then click the General tab
At the bottom of the General tab, you can see the email address associated with the student’s registration as well as the student’s username.