A. How do I set up an Event?
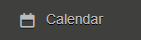
1. On the sidebar, click the Calendar tab.
2. Once you’re on the Calendar page, click on the  symbol in the top right corner.
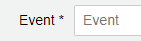
3. Create an event by filling in the necessary fields (required fields have an asterisk (*).
4. Once you fill in the necessary fields, you can choose to select the Class that has access to this event, invite specific students and write a short description.
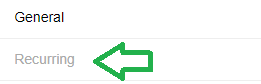
5. Select the Recurring tab to decide if you would like this event to occur over a certain time interval and what days you would like it to occur.
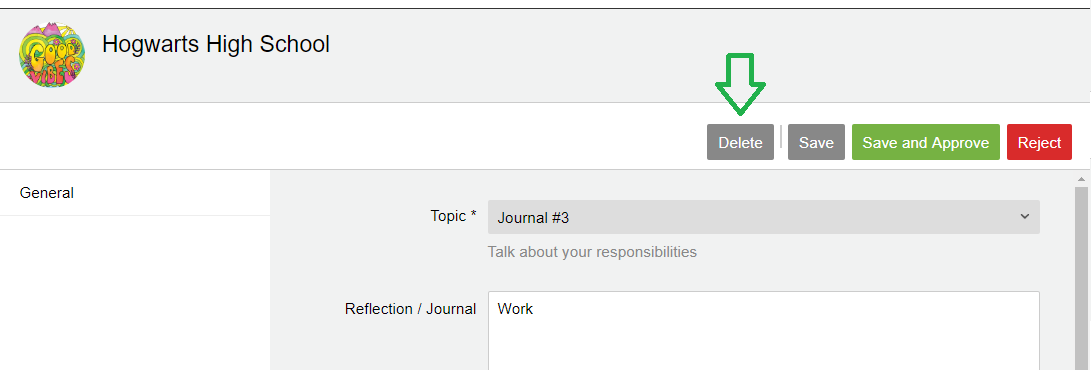
6. Click Save.
A. How do I Invite Specific Students?
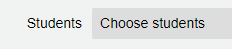
1. When you’re creating an Event, you have the option to invite specific students by clicking on the Students field.
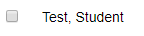
2. Select the students you would like to invite by checking off the box next to their names.
3. If you have a specific group of students in mind, you can filter students by Status, Role, Semester, and Class.

4. Once you have chosen your students, click  .
.
NOTE:
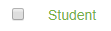
1. You can check off the box next to the Student column to select all members of your school or program.
A. How do I Edit Events?
1. In the calendar view, click on the event that you would like to edit.
2. Now you can edit information regarding the event such as the name, contact, start and end time, etc.
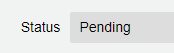
3. If you invited students to the event, you can check the status of their invite by clicking on this icon: 
4. If the invite is still pending, you can choose to  the invitation or you can manually accept the invite by selecting the student’s name
5. Once you select the student’s name, you can click the status field to edit their status.
6. You can also remove the student from the event by selecting  .
.
6. Click Save to maintain any changes.
NOTE:
1. You can click on Today to go to the current date and click the left and right arrows to move between months

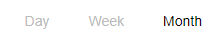
2. Selecting Day, Week, or Month will organize the Calendar accordingly.
A. How do I filter Events?
1. There are multiple ways you can filter events. When you’re on the Calendar page, you can find the filters at the top left of the page.
2. If you know the name of the event of interest, you can type it into the Search Bar.
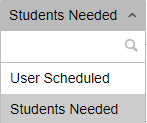
3. You can filter events depending on if students are needed or if you’re invited to the event by selecting the filter to the right of the search bar.
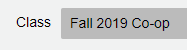
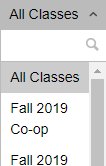
4. You can also filter events by Class by selecting the filter to the left of  .
.
5. Once you’re content with the filters, select to apply the filters.
TIP
For more details on calendar colour coding, please click here.

 icon to view students Last Login on the Student Dashboard.
 information icon, Under the General tab you will see the sign up date
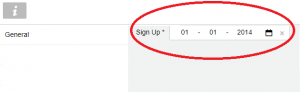
 icon, Click the Registered Students Report to see the date the student registered on Hour Republic.