To begin, select the  icon on the left toolbar.
1. Select the  button in the top right corner of the page
2. Students have the option to Label their hours (e.g. Week 1)
3. Under Category, students can choose from Volunteer, Placement / Co-op, Extracurricular, Peer Tutor, Training and/or Faith-Based hours (options vary by school)

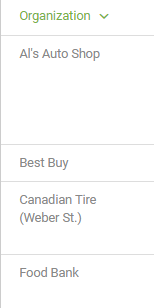
4. Next, students can search for an Organization/Employer. If the organization is not present, then students can add a new organization by clicking the  icon
icon
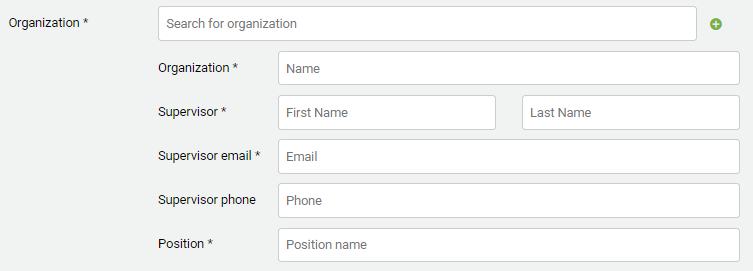
Students can fill out the Organization Name, Supervisor Name, Email, Phone Number, and their Position (e.g. Food Pantry Volunteer)
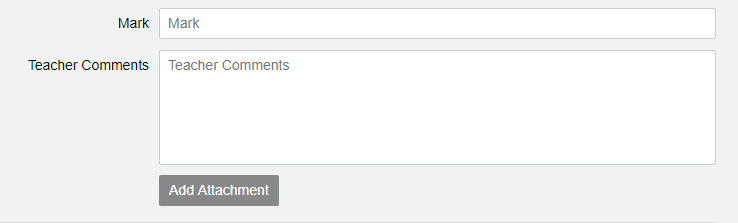
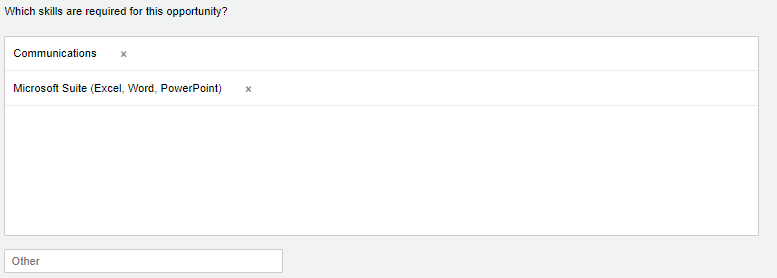
5. Students can add Skills learned and a Description of their volunteer activities
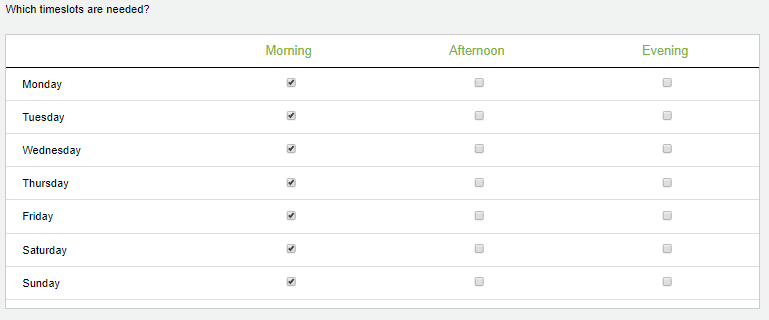
6. For the Type of Hours field, students can either add hours as a
(i) Block (e.g. January 1 to March 31)
(ii) Shift (e.g. the specific date and time such as September 9, 9:00am-5:00pm)
(iii) Weekly (e.g. shifts for a particular week, Monday to Sunday)
7. Add Parent/Guardian email
8. Review the guidelines and eligibility criteria link and when ready, check off the verification box:
“I verify that this activity meets the guidelines and eligibility criteria for community involvement.”
9. Once a student has added and reviewed their hours, the student can either select the Save button to save hours, or Save and Submit to submit hours to both the Organization/Employer & Parents/Guardian (an email will be sent to both at the same time)

How do students copy a log?
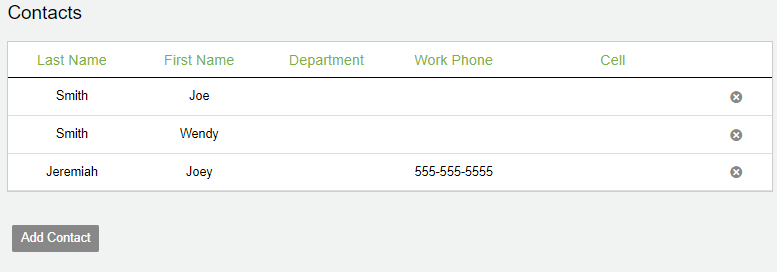
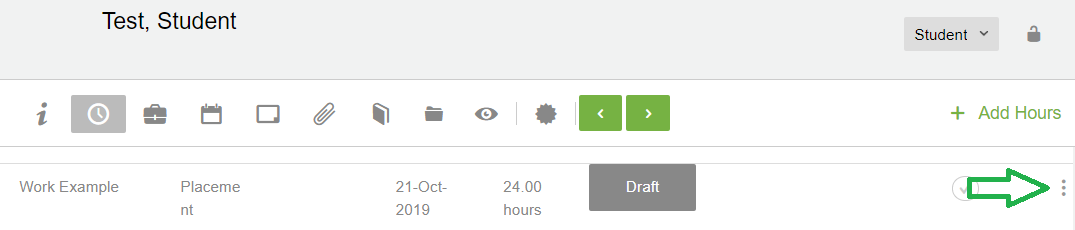
Students can create a copy of their hours by clicking  at the right side of the desired hour entry, and selecting Copy. This will create an identical Draft of the hours.
If students have consistent hours each week (e.g. 9:00am to 12:00pm), then they can add hours and save those hours as a template. Students can leave the template in Draft status, add a “Template” label to the hour log, and copy that template each week.
How do students print a log?
Students can export a copy of their hours by clicking at the right side of the desired hour entry, and selecting Export. This will export a document that can be saved electronically and/or printed.