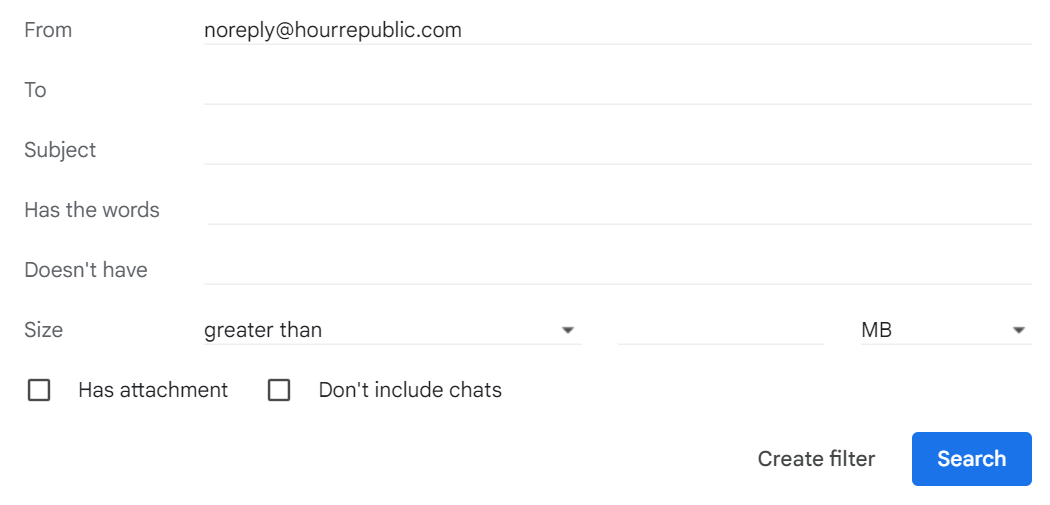
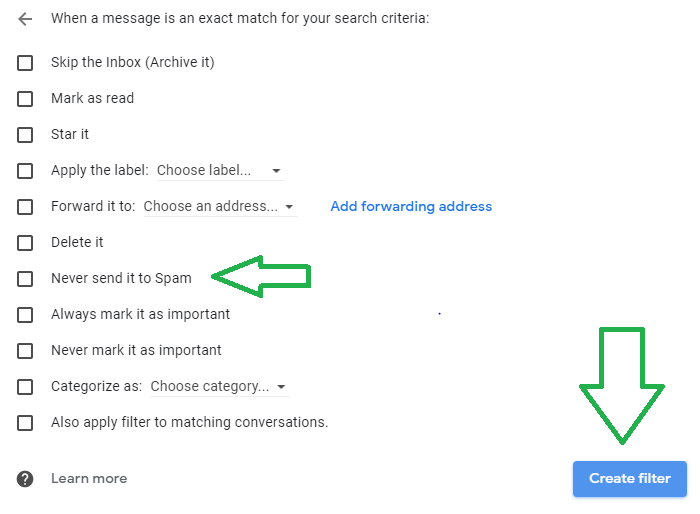
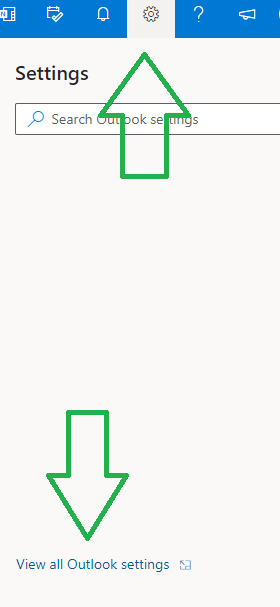
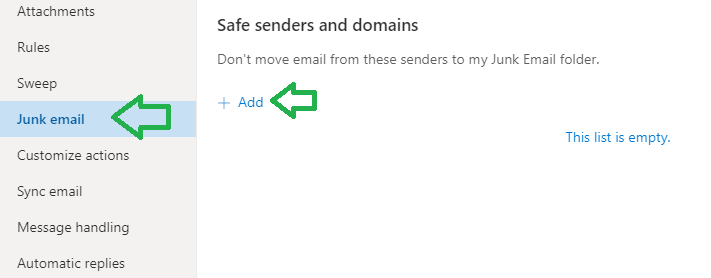
Below are instructions for students on how to generate the Student Workplace Preferences form.
 Register for an Hour Republic account
Login to your UGCloud portal and click on the VLE (Brightspace) icon. 
From here, click on the Hour Republic icon (bottom-right) and register as a student 
– The OEN field is not required (optional)
– Your teacher may provide you with a signup code. If so, add that code to the Signup Code field.
Please only register once. After registering, when you click on the Hour Republic icon in the future, it automatically logs you in.
 Search for Placement Opportunities
Click on the Opportunities section ![]() in the left panel.
in the left panel.
Here, you can view placement opportunities by Organization, Position, Location, and Sector.
Click on a specific placement to review any details associated with the placement – this includes the placement description, qualifications and contact information.
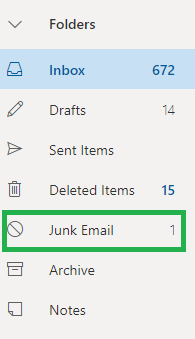
 Create a Student Workplace Preferences form
*Reminder to only create one Student Workplace Preferences form.
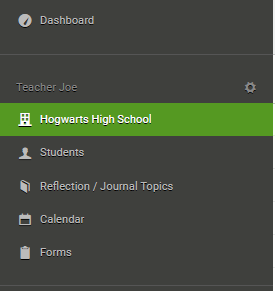
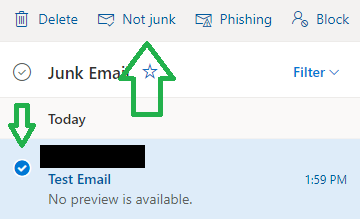
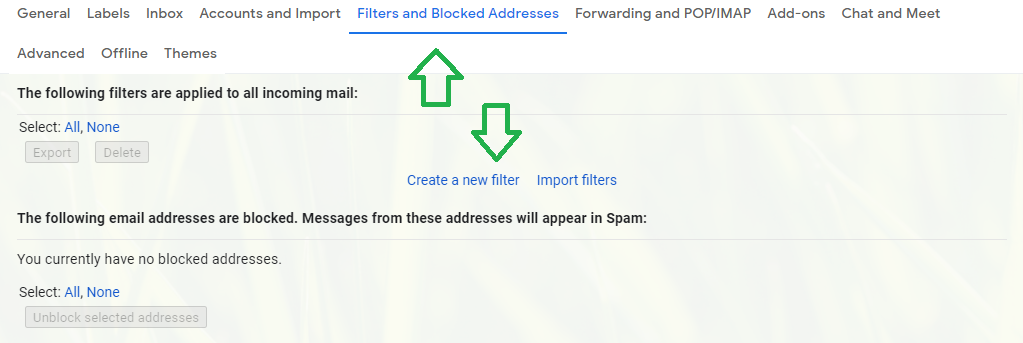
#1: Click on the Forms tab in Hour Republic ![]()
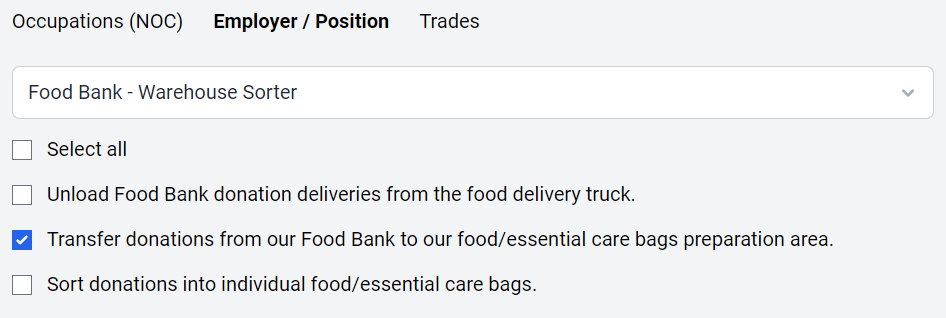
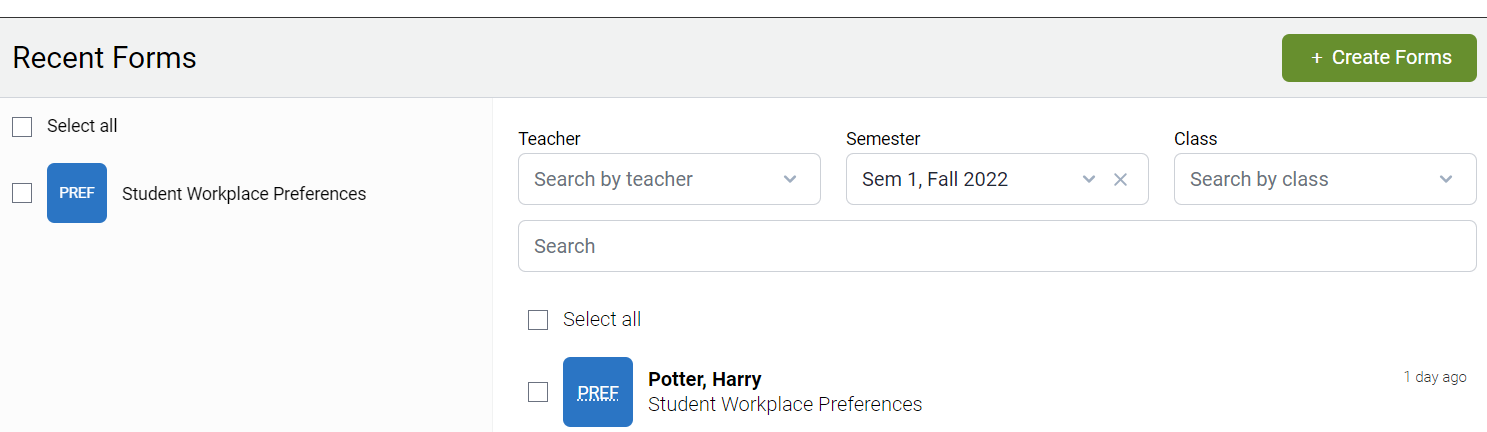
#2: Select the Student Workplace Preferences Form by clicking the checkbox on the left-hand side, under the Recent Forms heading

#3: Click the Create Forms button in the top-right corner
![]()
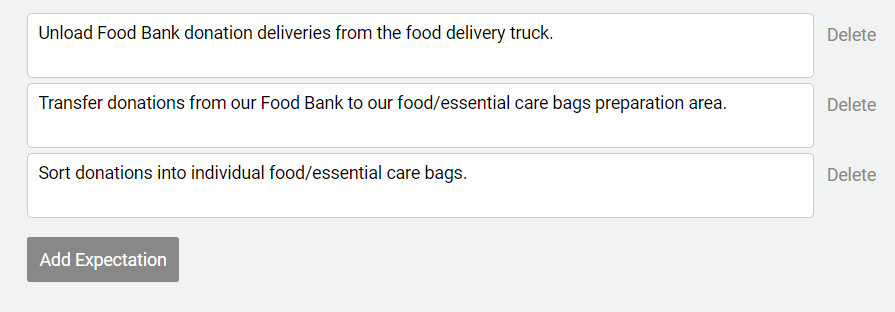
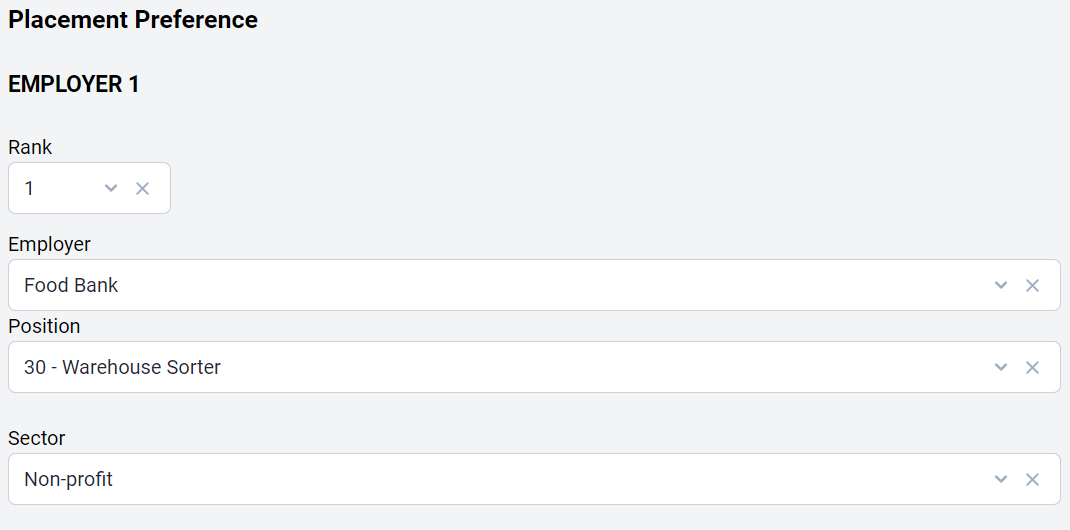
#4: Begin filling out or editing your form
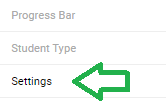
NOTE:
If you don't have a semester or teacher selected at the top of your form, then you can set it by clicking the Edit button next to appropriate field.
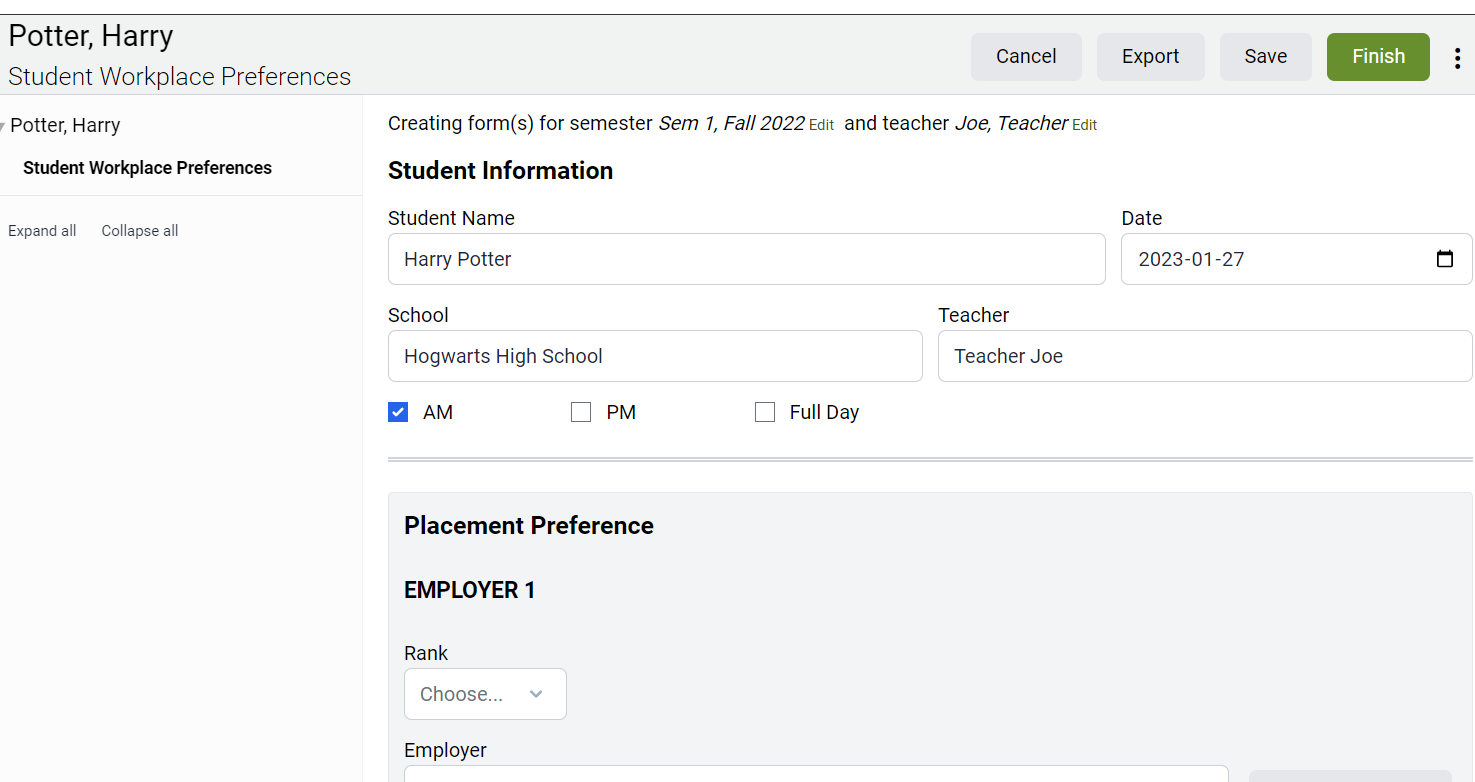
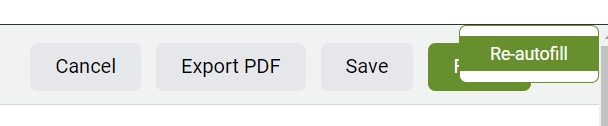
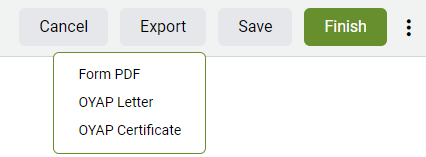
#5: Once the form is complete, click Save or Finish
– Click Cancel if you do not want to save your form or any revisions
– Click Export to view your form in PDF format.

EDIT YOUR FORM
All new Student Workplace Preferences form(s) that you or your teacher create will appear under Recent Forms on the right-side of your screen. Click on the form that you just created to Edit.
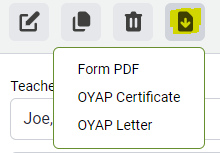 rs can download or print.