Mass e-signature requests

How do I send an e-signature request to more than one person & for more than one form at the same time?


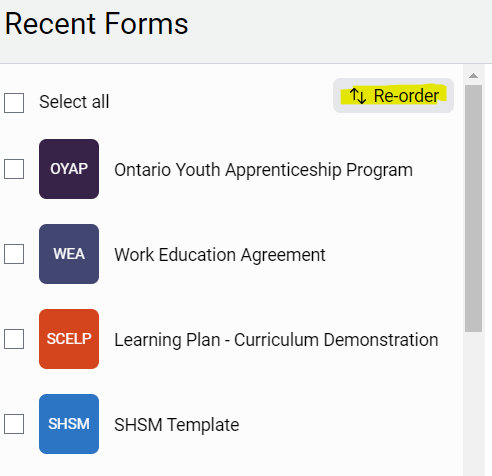
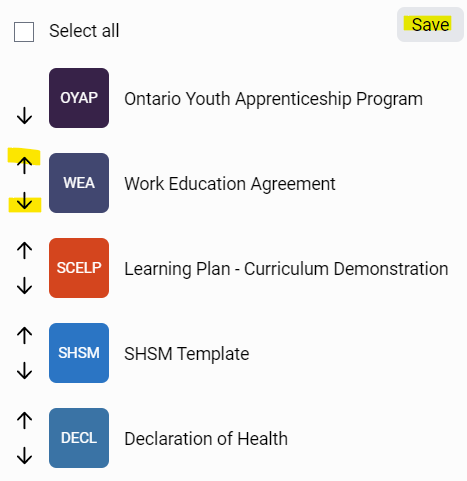
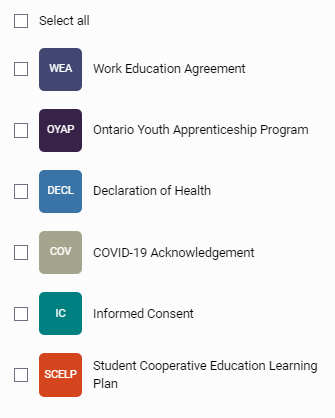
#1. Select one or more form(s)

āž”ļø TeachersĀ can select different forms & multiple students.Ā 

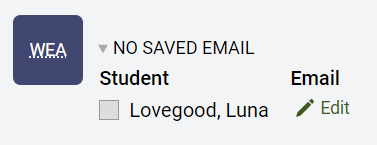
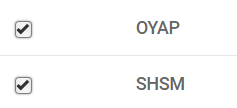
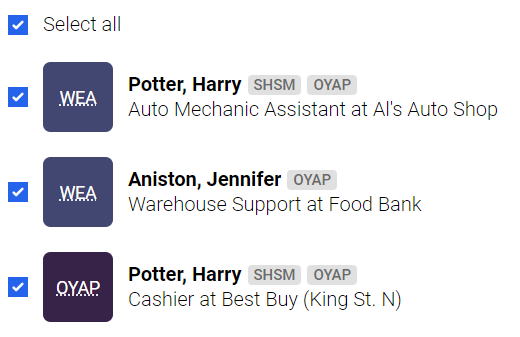
Example of selecting more than one student and form type (e.g. WEA and OYAP forms):

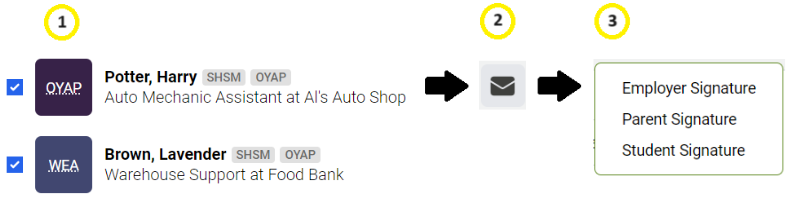
#2. Select the mass email icon at the top of your screenĀ 

#3. Select the signature type from the drop-down
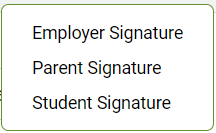
āž”ļøTeachersĀ might not see certain signature types (e.g. parent/guardian signature) because the selected form does not have that signature type.
e.g. If a form does not have a Parent/guardian e-signature, then Parent/Guardian Signature will not show up as an option in the drop-down.

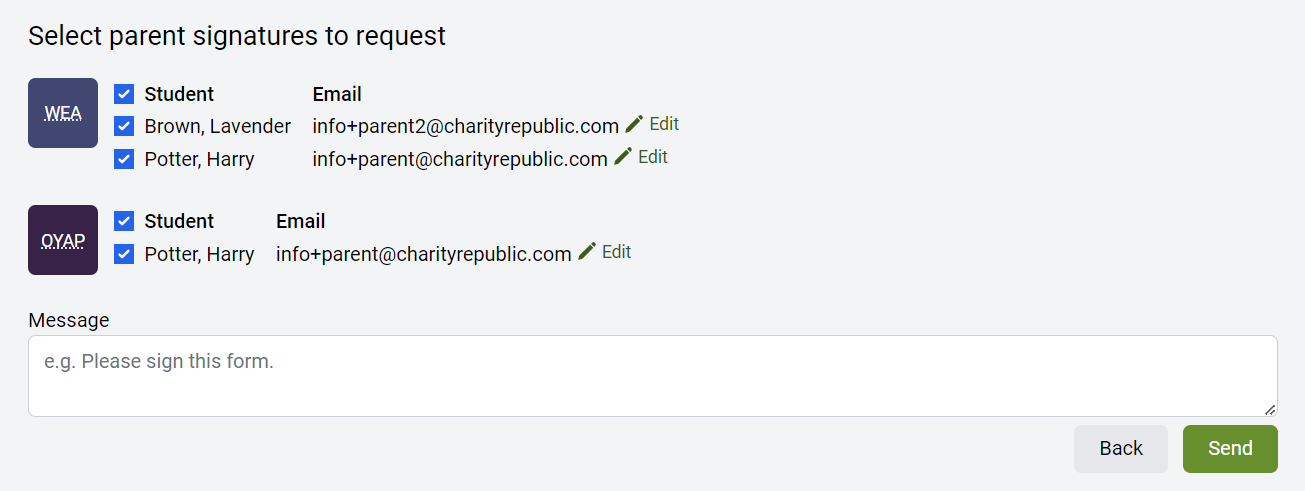
#4. Make your selection: select student(s) by form type and click

āž”ļø
Ā Teachers have the option to add a message. This message will apply to all selected students and forms.

āž”ļøĀ You will be asked to confirm your selection one more time (Are you sure you want to send these signature requests?). Click Send again.

Can I send an e-signature request for more than one form?

Yes.

Can I send an e-signature request for more than one student?

Yes.

Can I send an e-signature request to more than one employer? More than one parent/guardian?

Yes.

Can I send an e-signature request to employers & parents/guardians at the same time?

No, not for mass e-signature requests. Teachers can only pick one signature type at a time (e.g. employer e-signature request). Teachers can send multiple parent/guardians e-signature requests (for multiple students) at the same time; the same is true for employer e-signature requests.

āž”ļøĀ However, within an individual form, teachers can send e-signature requests to the parent/guardians, employer and student at the same time (FAQ).

Are the requests for each form combined into one email or sent separately?

When using the mass e-signature feature, e-signature requests for multiple forms are combined into one email.

For example, if teachers send an employer a request to sign 2 different forms, then both forms will appear in one email.

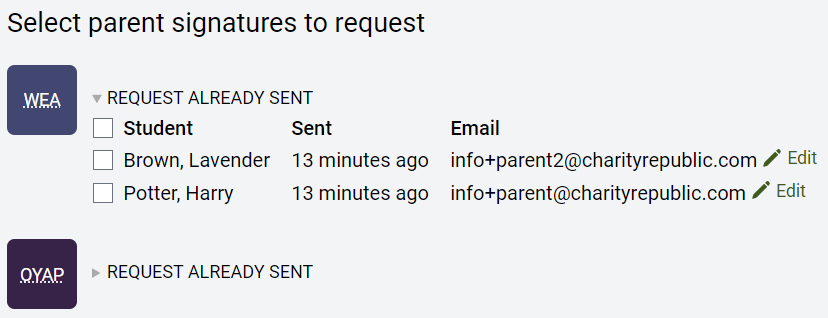
How do teachers know if an e-signature request has been sent?

A Request Already Sent section will appear:

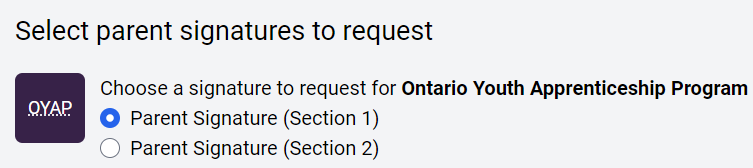
Why do I need to select a section for certain forms?

If more than one of the same signature type exists on a form, then those signature requests must be sent separately (i.e. 2 different parent/guardian signatures on the same form).

I selected a student’s form but the Parent/Employer Signature request does not show up.

It’s possible that the form has already been signed. If that’s the case, then the request to sign will no longer appear. For example, if a parent/guardian e-signature request is selected but the parent has already signed the form, then the request to sign will no longer appear.

Ā >Ā Ā 

What if an email address is missing?

If an email address is missing, then teachers have the option to Edit and add an email address.

  • For parents/guardians, the email address pulls from the form or the Contact section.
  • For employers, the email address pulls from the selected employer in the form.

Tags for Students

Tags are used to easily identify SHSM and OYAP students in Hour Republic.

How do I add a tag?

Option #1. The Tag section can be accessed under a student’s profile:Ā 
Simply check off the desired tag(s), and Save.

Option #2. Tags are automatically set when a new OYAP and/or SHSM form is created, or when an OYAP or SHSM form is modified and saved.

Option #3.Ā If your IT department has indicated that a student is an OYAP or SHSM student (in the file that is shared with us), then tags are automatically set for a student.

NOTE: Option #2 and #3 areĀ 'going forward' features. These tags will only appear for recently created forms or recently imported students because this feature did not exist previously.

Appearance of tags

(i) Tags appear at the top of a student’s profile:Ā 

(ii) Tags appear when selecting students to create a new form:Ā 

(iii) Tags appear for already created forms:

Imported tagĀ 

You may notice an Imported tagĀ when you are selecting students to create new forms. This means that your IT department provided us with student data and this data was imported. If an Imported tag does not appear, then the student simply registered an account and was not imported.

NOTE: This is a 'going forward' feature. The Imported tag will only appear for recently imported students because this feature did not exist previously.

How to Locate Volunteer & Placement Opportunities

Click on the OpportunitiesĀ sectionĀ Ā in the left panel or,
locate opportunities from your Dashboard.

In the Opportunities section, you can view placement opportunities by Organization, Position, Location, and Sector. If a placement has an address set, then it will appear on the map as well.

Examples of opportunities:

Click on a specific placement to review any details associated with the placement – this includes the placement description, qualifications and contact information.

Registering for Hour Republic via Google (Teachers)

Please note that teacher accounts undergo an internal verification process before access is provided. For quicker access, please email             info[at]charityrepublic.com and notify our team when you have registered for a teacher account.

#1.Ā Click here to start the teacher registration process.

#2. Click theĀ Sign up with GoogleĀ button

Only use the email address assigned to you by your school district or institution. Do not use your personal email address unless told otherwise.

āž”ļø You might also see Google in the top-right of your screen (depending on how Chrome is configured). If so, click the Continue button.Ā 

#3. Select your Google account.
If your email account does not automatically appear, then select Use another account

#4. Enter your school-assignedĀ Email address (or confirm that it is accurate), and click Next

#5. Enter the password associated with your Google account, and click Next, thenĀ Confirm

#6. Select your School District or Institution as well as your School or Program, and click Next

āž”ļø If the email domain that you tried registering with does not match, then you will see a message like this:

#7. Complete the registration form and click Next

Password Tips
– Passwords require a length of at least 8 characters
– 8 character passwords require at least one special character
– Passwords with 9 or more characters don’t need any special characters, capitals or numbers
– We recommend creating a password that consists of 2 random words (or more) followed by a 3 character number. For example: word-word-word#

Congratulations and welcome to Hour Republic! šŸ˜€

==========

Already have an account?
If you registered for an Hour Republic account previously, then you will be redirected to theĀ Sign InĀ page. Please login, or reset your password if necessary.

How do students create or access their forms and other learning plans?

Students have the ability to create and/or contribute to their learning plan or other forms such as WEAs, OYAP forms, etc.

The process for creating a form or plan is the same for students and teachers. The main difference being, students only see their own information whereas teachers have access to their entire class.

#1: Click on theĀ FormsĀ tab in Hour Republic to create a new form

#2: Select a form(s)
Select one or more forms that you wish to create by clicking the checkbox beside the form (e.g. check off Learning Plan, WEA and OYAP)

#3: Click the Create Forms button in the top right corner

NOTE: If your teacher has already created a learning plan or form for you, then please skip this step (Step #4)

#4: Begin filling out or editing the form

NOTE: 
If you don't have a semester or teacher selected at the top of your form, then you can set it by clicking the Edit button next to appropriate field.Ā  

#5: Some forms will have the option to Add Course Details and/or Add Employer Details.

Click the Add button to view and select from a list of all the Ministry of Education courses. Click the Add button again to add multiple courses.

#6: Add the Employer information

There are 2 ways to add an employer. You can either search for an existing employer or add a new employer.Ā Before adding a new employer, please ensure that you have searched for your employer first, in order to avoid duplicates.

Add an Existing Employer
The search bar is smart. If you type in a few letters, it will find a match. Once you have selected an employer, select the Contact and Student Position (i.e. Cashier).
Adding a New Employer
If you are unable to find an employer via a search, click the Add Employer button to create a new employer. You can follow this FAQ to add a new employer.

#7: Fill out the remainder of the form.

#8: Once the form is complete, you can either
– Save, Finish or Export PDF
– Print
– Sign electronically
#9: Email a request(s) for e-signatures

Students can e-signĀ forms directly from their accounts, or via email.

Students only have access to their ownĀ signatureĀ field and to send an e-signature to their parents/guardians (so that they can signĀ electronicallyĀ that way).
rECENT FORMS

All new forms that you or your teacher create for you will appear under Recent Forms (right-side of screen). Click on the plan or form you just created to Edit, Copy, Export or Delete.