Possible Reasons:
(i) The type of filters being selected in the Students section.
(ii) Student(s) registered for the wrong school.
(iii) A Signup code was not set up for the Class.
(iv) Student(s) did not enter the correct Signup Code during registration.
(v) Students have not yet registered.
Method 1 – Set Students Section Filters to All
The most common reason for not seeing students –> the wrong filters being selected in the Students section.
If you are unable to locate your students, click on the  tab and:
(i) Please ensure that your filters are set to the “All” default for all filters
(ii) If you are using the Classes section, then select your Class from the drop-down

Most filters should be set to All except the Class filter (see filter underlined in green). This filter should be set to your current class so that you will only see your students.
TIP:
The most common filter behind this issue is the Semester filter. Only students who register using a sign-up code with a specified semester will automatically be set to a semester.
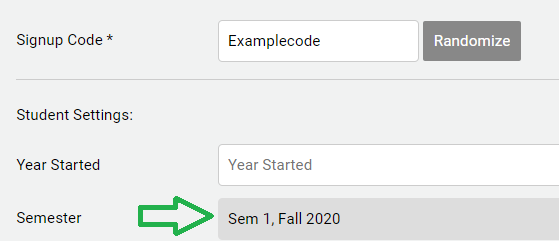
If a student did not register using a sign-up code, then their semester filter will be left blank and they will be filtered out if the Semester filter is not set to All Semester
Method 2 – Check your Class
If the students continue to not show up, it is possible that they are not linked to your class. Set your Class filter to All Classes

If they show up, then that means the students are not linked to your class. There are a couple of reasons why this could happen:
(i) The students did not enter or misspelled the sign-up code when registering
(ii) There is no sign-up code associated with the class
(iii) The student did not register for the correct school
NOTE: If you have any questions about setting up and/or reviewing your sign-up code, please see this FAQ
In order to link the students to your class, please follow these steps:
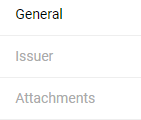
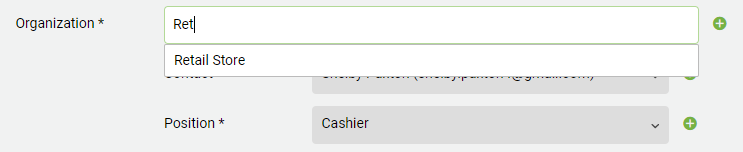
1. Click on the tab with your school’s name
2. Select the Classes tab
3. Click on your Class name
4. Scroll down to the Student table and click the

icon found at the right corner of the table
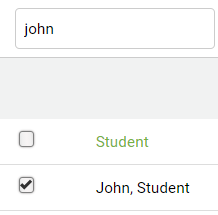
5. Once you click on this, a pop up menu will open. Type the first name or last name of the desired student into the search bar then make sure to click Enter.
6. If their name appears,
check the box next to their name then click

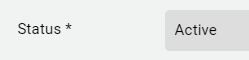
NOTE: If the student’s name does not appear, then make sure the Status filter is set to All Statuses
7. Repeat this process until all of your students have been added
8. Click

to save any changes