Bulk Achievements are a fast and easy way to designate achievements (e.g. Safety Training, First Aid) to large groups of students. If you would like to learn how to do this, then please follow the following steps:
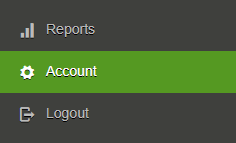
1. Locate the sidebar to the left panel, then click on the tab with your school’s name.
![]()
2. There are a series of icons at the top of this section, and at the far-right, you will find the Bulk Achievements icon. Click on the icon:![]() .
.
4. Create a new bulk achievement by clicking on![]() in the top-right corner.
in the top-right corner.
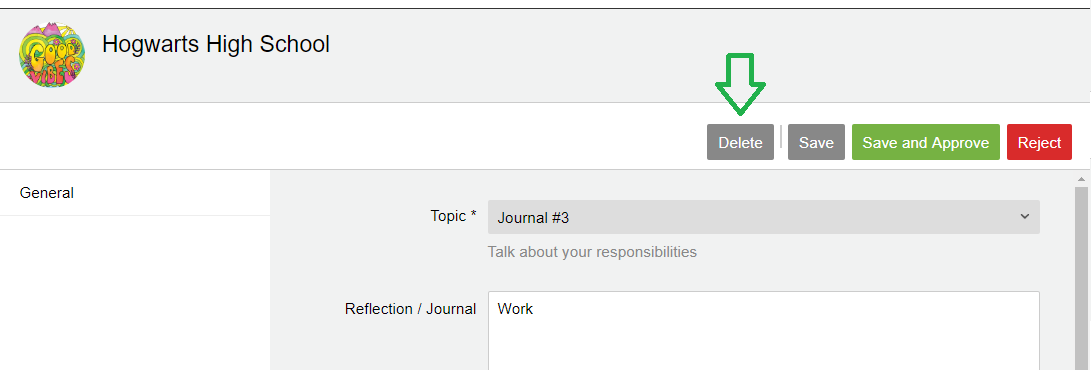
5. This will take you to the General tab where you fill out information such as the Type, Completion Date, and a short Description of the achievement.
6. Indicate which students received the achievement by clicking the Students field at the bottom.
![]()
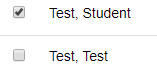
7. Check the box next to the name of students who received the achievement.
8. Once you’re finished selecting the students, click ![]() at the bottom-right corner of the menu.
at the bottom-right corner of the menu.
9. If you know who issued the achievement, click the Issuer tab (left-side). You can fill in information regarding the the Name and Contact Information of the issuer.
10. Have an image file or document to go along with the achievement? Click on the Attachment tab then select ![]() to upload your file.
to upload your file.
11. Once you’re finished setting up the bulk achievement, click ![]() in the top right corner.
in the top right corner.
NOTE:
If a group of students received an achievement and it’s already listed on the Bulk Achievement page, you can click on the desired achievement, check off the names of the new students then click ![]() . This keeps the Bulk Achievement page organized and free of duplicate achievements.
. This keeps the Bulk Achievement page organized and free of duplicate achievements.


 (or, Edit for existing hours)